Fix Clogged Toilet & Leaky Faucet: DIY Guide
I ignored a slow-draining toilet and a dripping faucet for months. When I finally fixed both in one Saturday, the real surprise was how easy it was.
TL;DR
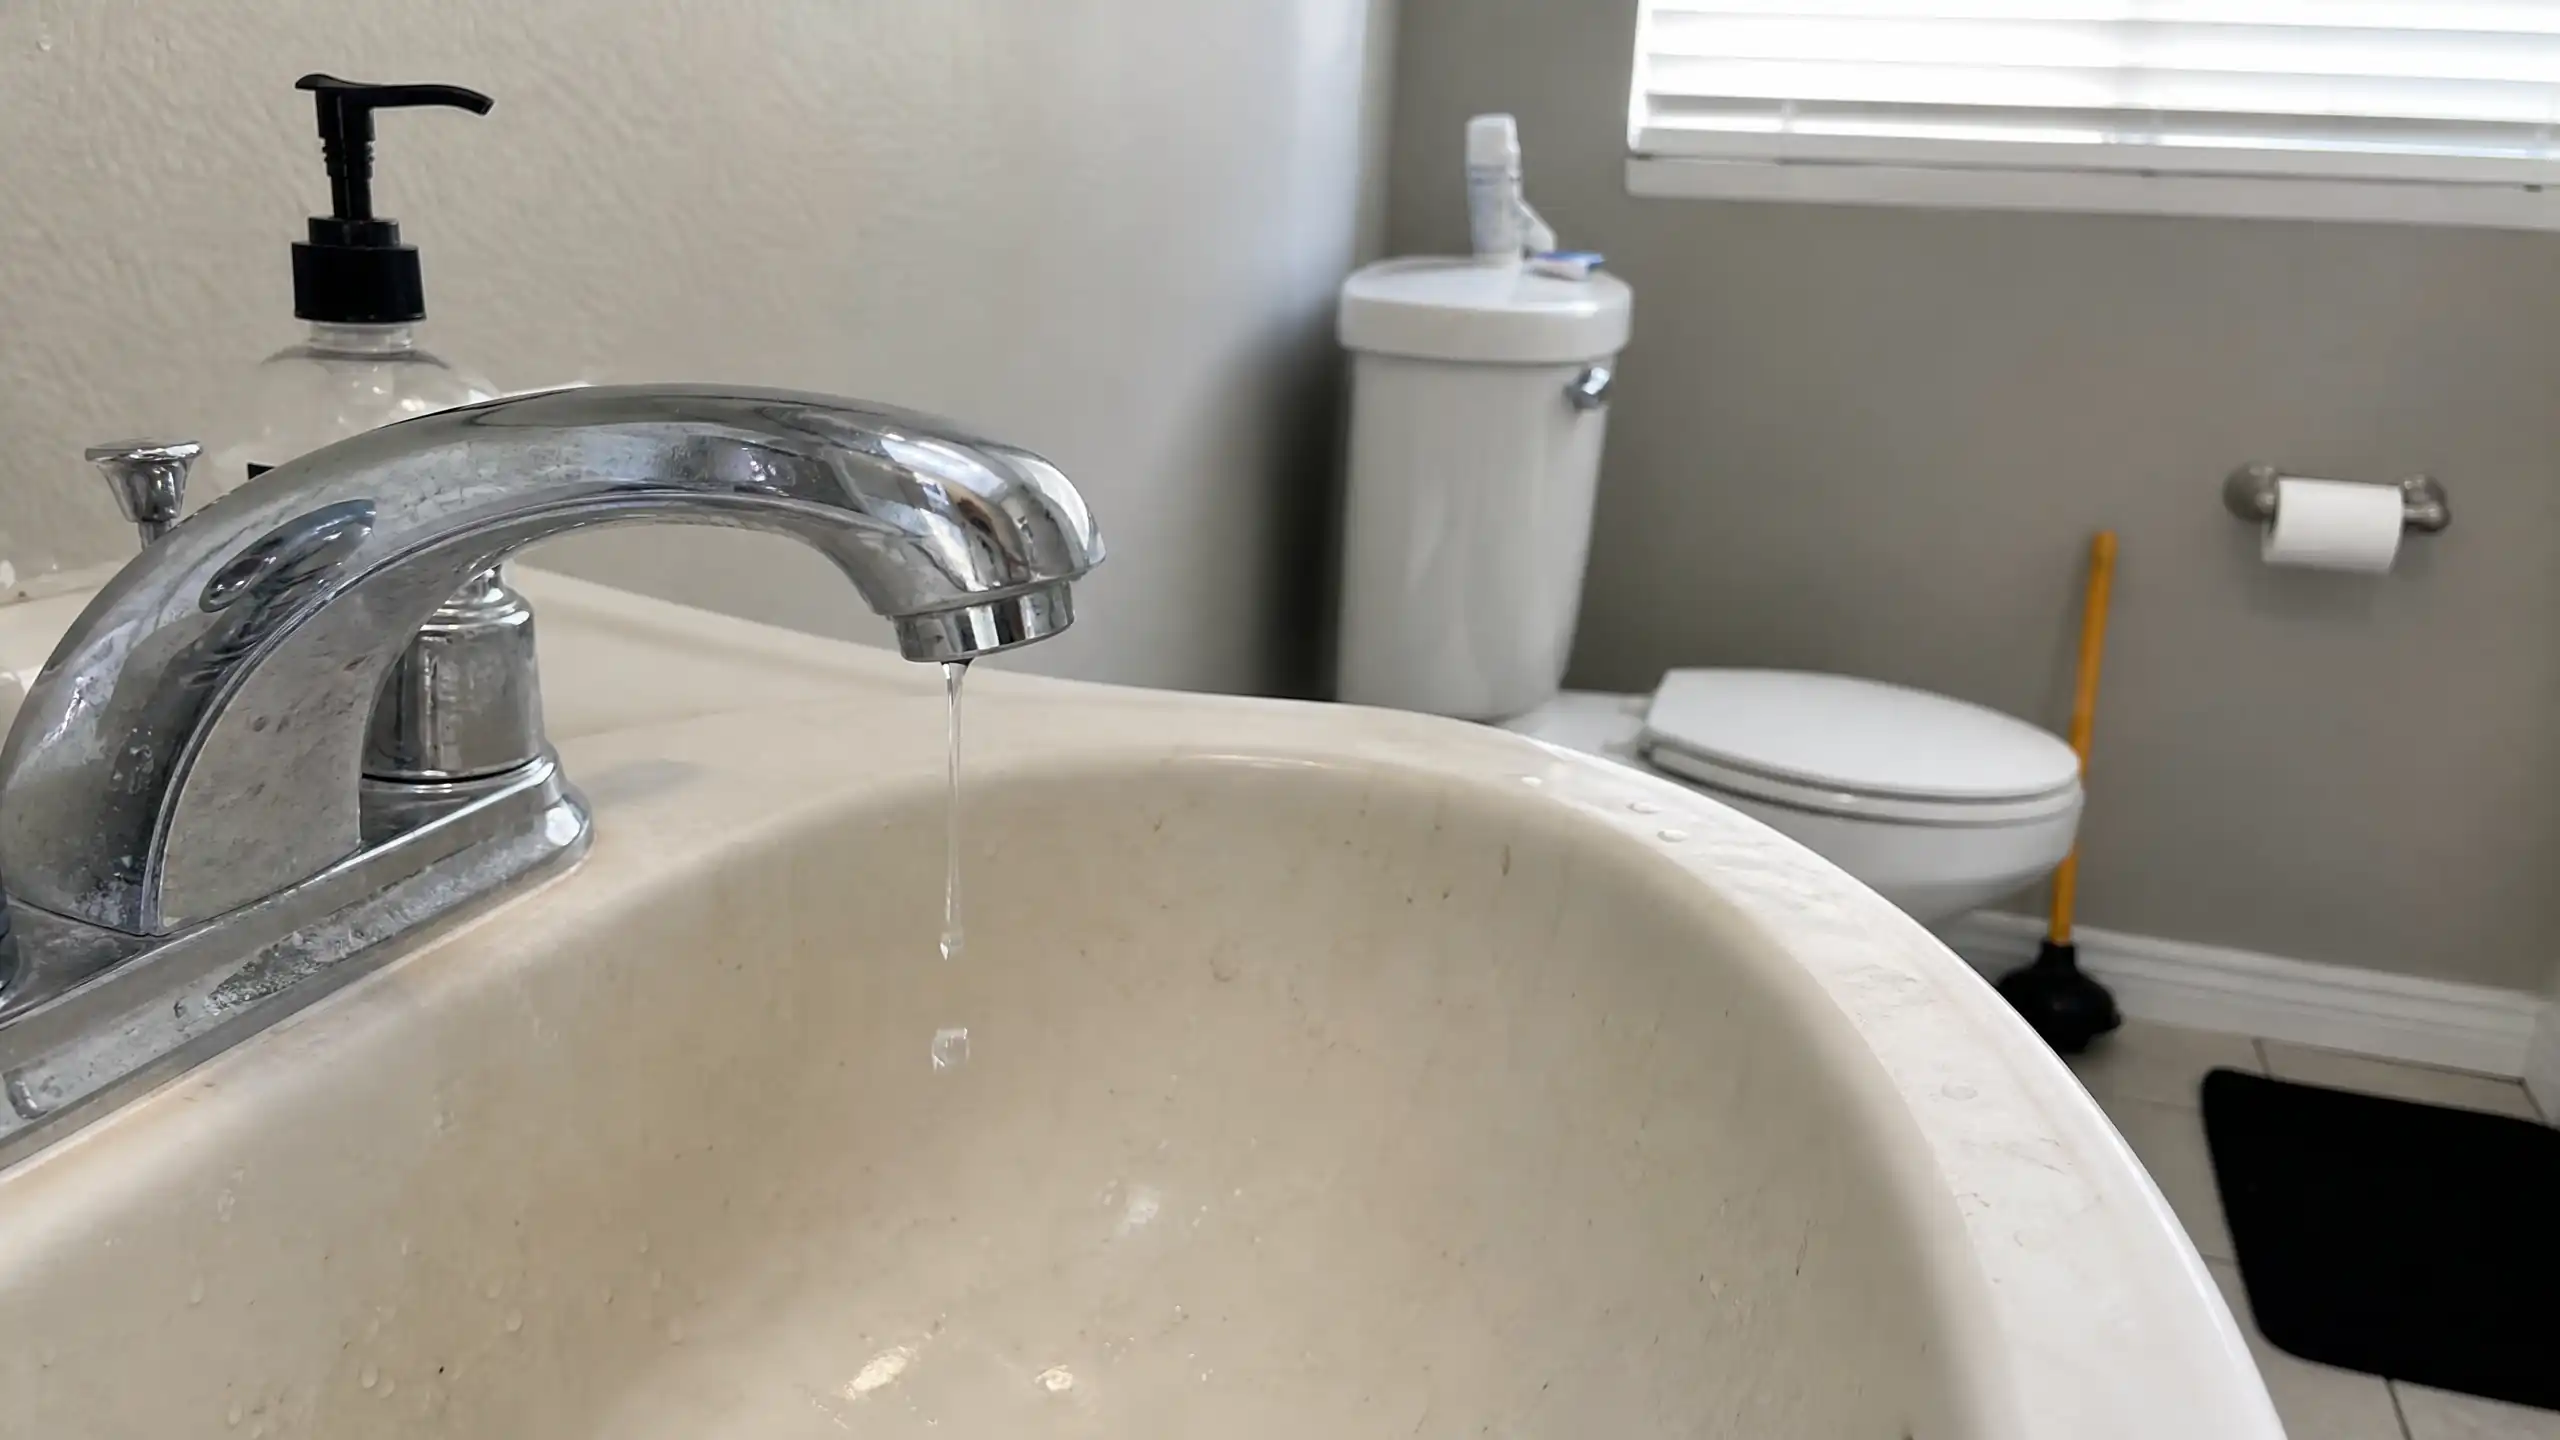
I had two plumbing problems I ignored for a year: a toilet that clogged every few weeks and a faucet that dripped overnight. In one Saturday I fixed both with a closet auger and a new cartridge. The toilet clog was caused by a hard-water mineral buildup narrowing the trap, not a foreign object. The faucet leak was a worn rubber seal inside the cartridge. Combined cost: about $48. Neither required a plumber.
Why I Fixed Both the Same Saturday
Two things broke the “I’ll do it later” cycle. First, the toilet clogged while my mother-in-law was visiting big yikes. I plunged it in front of a guest, which is the kind of shame-based motivation that actually works on me. Second, I stepped in the cold wet spot in front of the sink at three in the morning. My sleepiness went away real fast; the faucet apparently had been dripping on a washcloth for months, making this gross wet mess. These two events sobered me up real quick, and I decided Saturday was the day I would fix them. Both problems were plumbing, both were in the same bathroom, and I had a closet auger in the garage I had bought two years ago and never used.
Unclogging the Toilet
So, as tradition for unclogging the toilet, I started with the plunger. I had used it to unclog my toilet a few times before, but then it would only work for a few weeks; then the problem would reappear. This time I paid attention to what was really happening.
What a Plunger Actually Does (and why it wasn’t working)
A plunger does not suck the blockage/clog out. It only pushes air inward, hoping to push the blockage forward. Make sure the plunger is fully sealed against the toilet outlet because if air escapes, then the whole purpose is defeated; the air escapes around the sides, and you are just pushing water back and forth without moving the clog. My plunger was a standard cup plunger, the kind with the flat rubber rim. That design is made for sinks and flat drains, not toilets. A toilet clog needs a flange plunger, the one with the extended rubber lip that goes into the toilet outlet and creates a secure seal. So, armed with this knowledge, I switched to a flange plunger that moved the clog but did not clear it fully. The water level dropped slower than it should have. Whatever was in there was not moving out with air pressure alone.
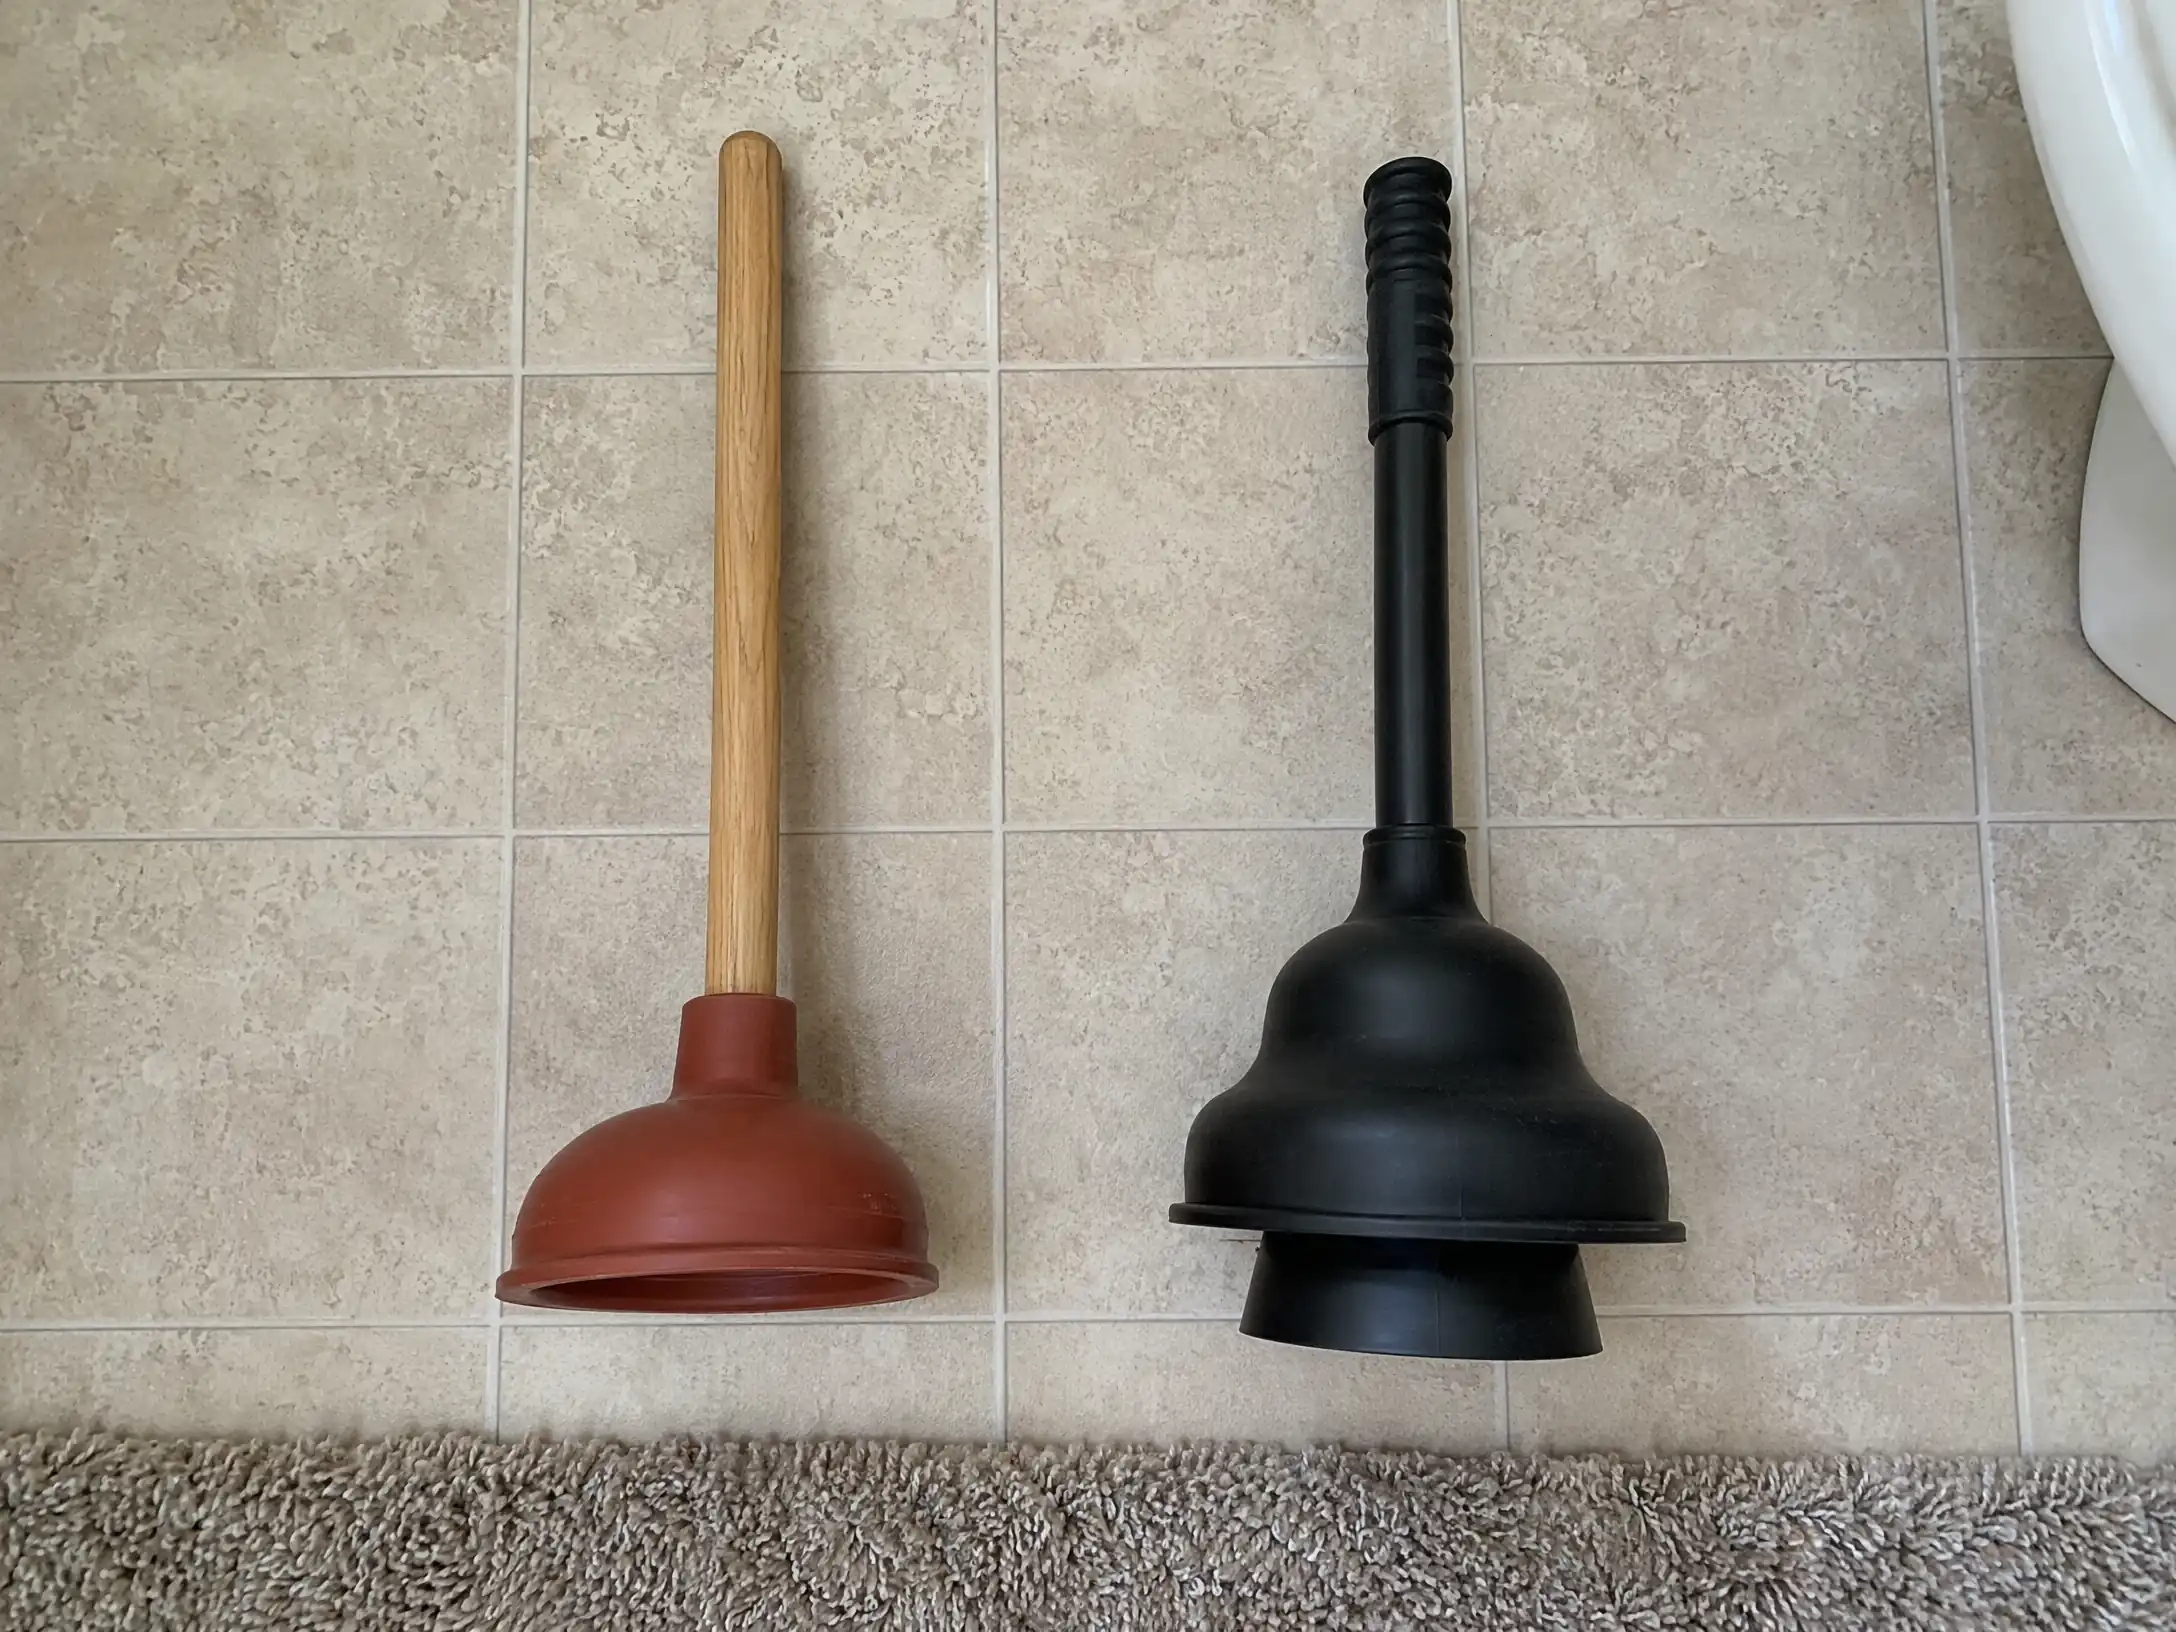
Flange Plunger with Extended Lip
AmazonCheck Price →
Affiliate Link
The Closet Auger, When a Plunger Is Not Enough
I went to the garage and found the closet auger I had bought two years earlier after watching a YouTube video about toilet repairs. It was still in the plastic wrap. Fifteen dollars, three feet of flexible cable, and a handle that spins the cable into the trap. A closet auger’s working is different than a plunger. Instead of pushing with air pressure it operates on a more physical approach. It feeds a curved metal cable through the toilet outlet and into the trap. You crank the handle and the cable twists through whatever is blocking the passage. It either breaks up the blockage or latches onto it so you can pull it out. So I pushed it in, and after about 18 inches it met some resistance so I cranked the handle a few more times, felt the cable dig into something, and then pulled back. The tip came out coated in a chalky, hard white crust. Mineral scale. I flushed. The water went down clean and fast for the first time in a year.
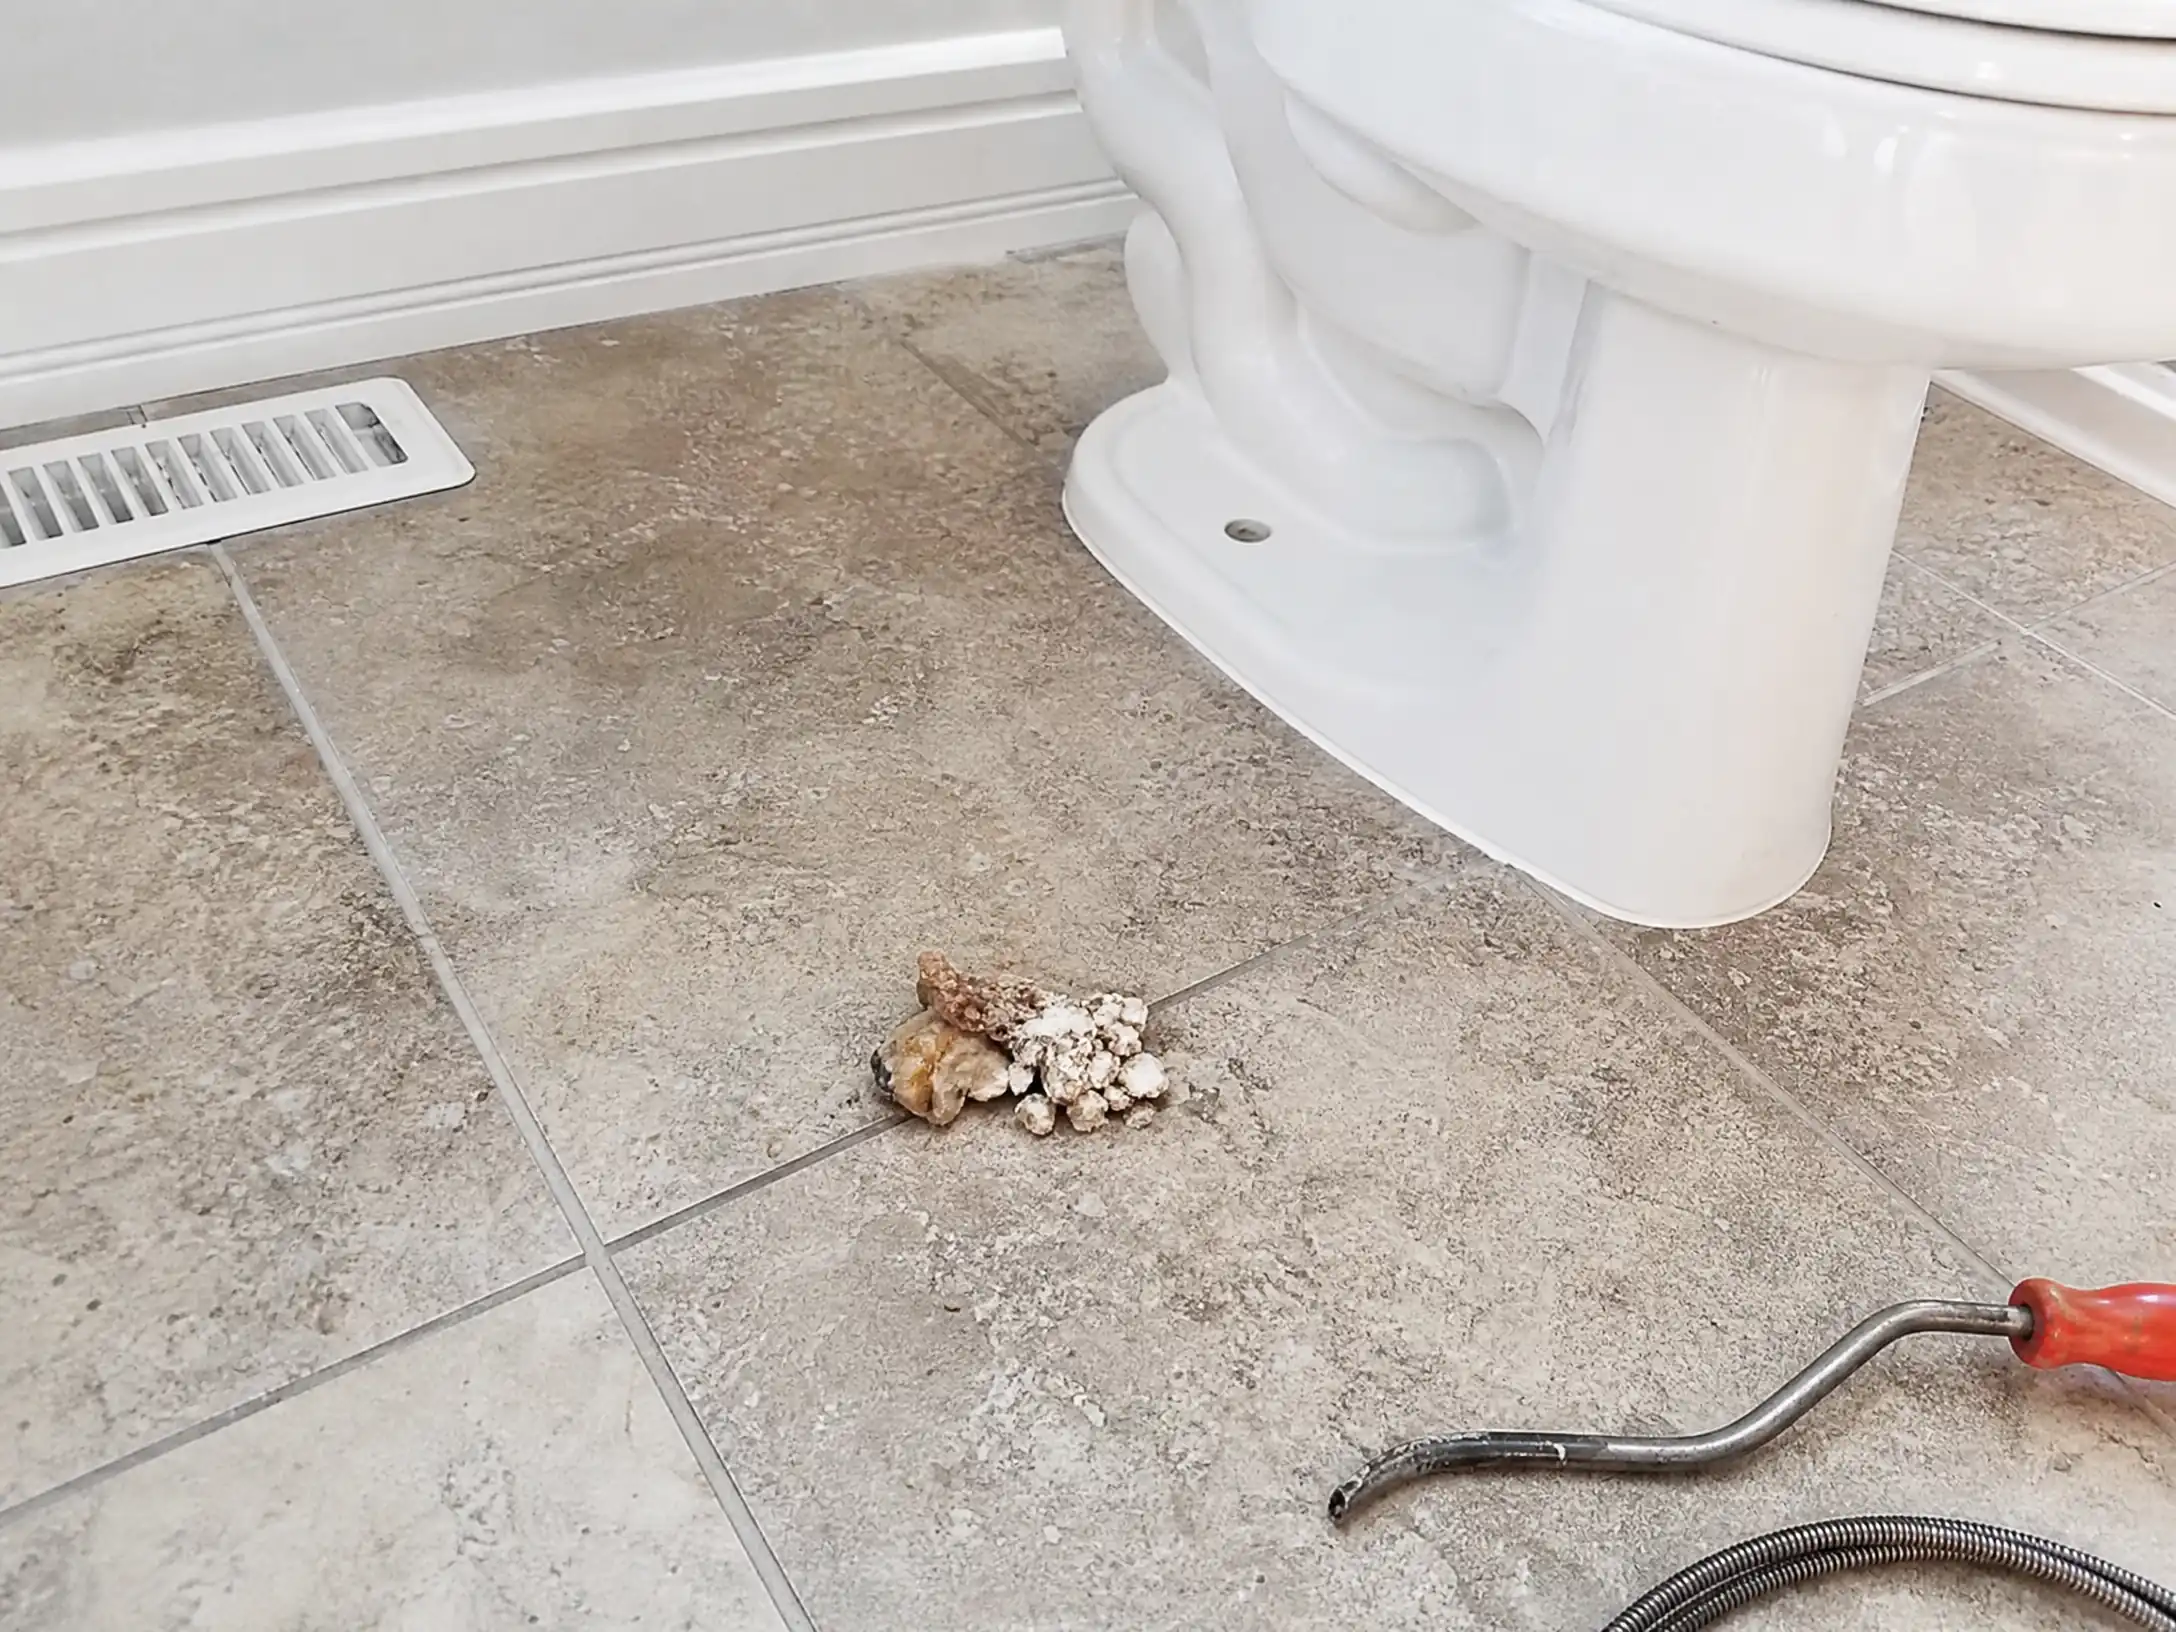
Closet Auger 3-Foot Toilet Auger
AmazonCheck Price →
Affiliate Link
What Was Actually Causing It
The white mineral crust was actually calcium and lime buildup from the hard water. Since our water comes from a relatively hilly area, it’s common to see mineral deposits on faucets and showerheads. Over the years, the same mineral buildup had narrowed the toilet trap; a normal flush was fine, but using too much paper caused a clog while flushing. The auger broke the mineral deposit and restored the full opening once again. The toilet has not clogged since. That was five months ago.
Fixing the Leaky Faucet
The faucet was a standard two-handle bathroom mixer, most probably fifteen years old, with a separate hot and cold handle. The drip problem was on the hot side, and I had convinced myself that the whole faucet had to go. And I would need to deal with corroded nuts under the sink to get it out. I was wrong.
Finding Which Part Was Actually Leaking
To find out which part was actually leaking, I took the handle off with a hex wrench. Under that was a chrome retaining nut, which I unscrewed and pulled out the cartridge. It’s a plastic cylinder about 2 inches in length with rubber seals around the base. The cause of the leak was that the rubber seal was warped and cracked on one side, letting water through. The rest of the faucet was fine; no problem.
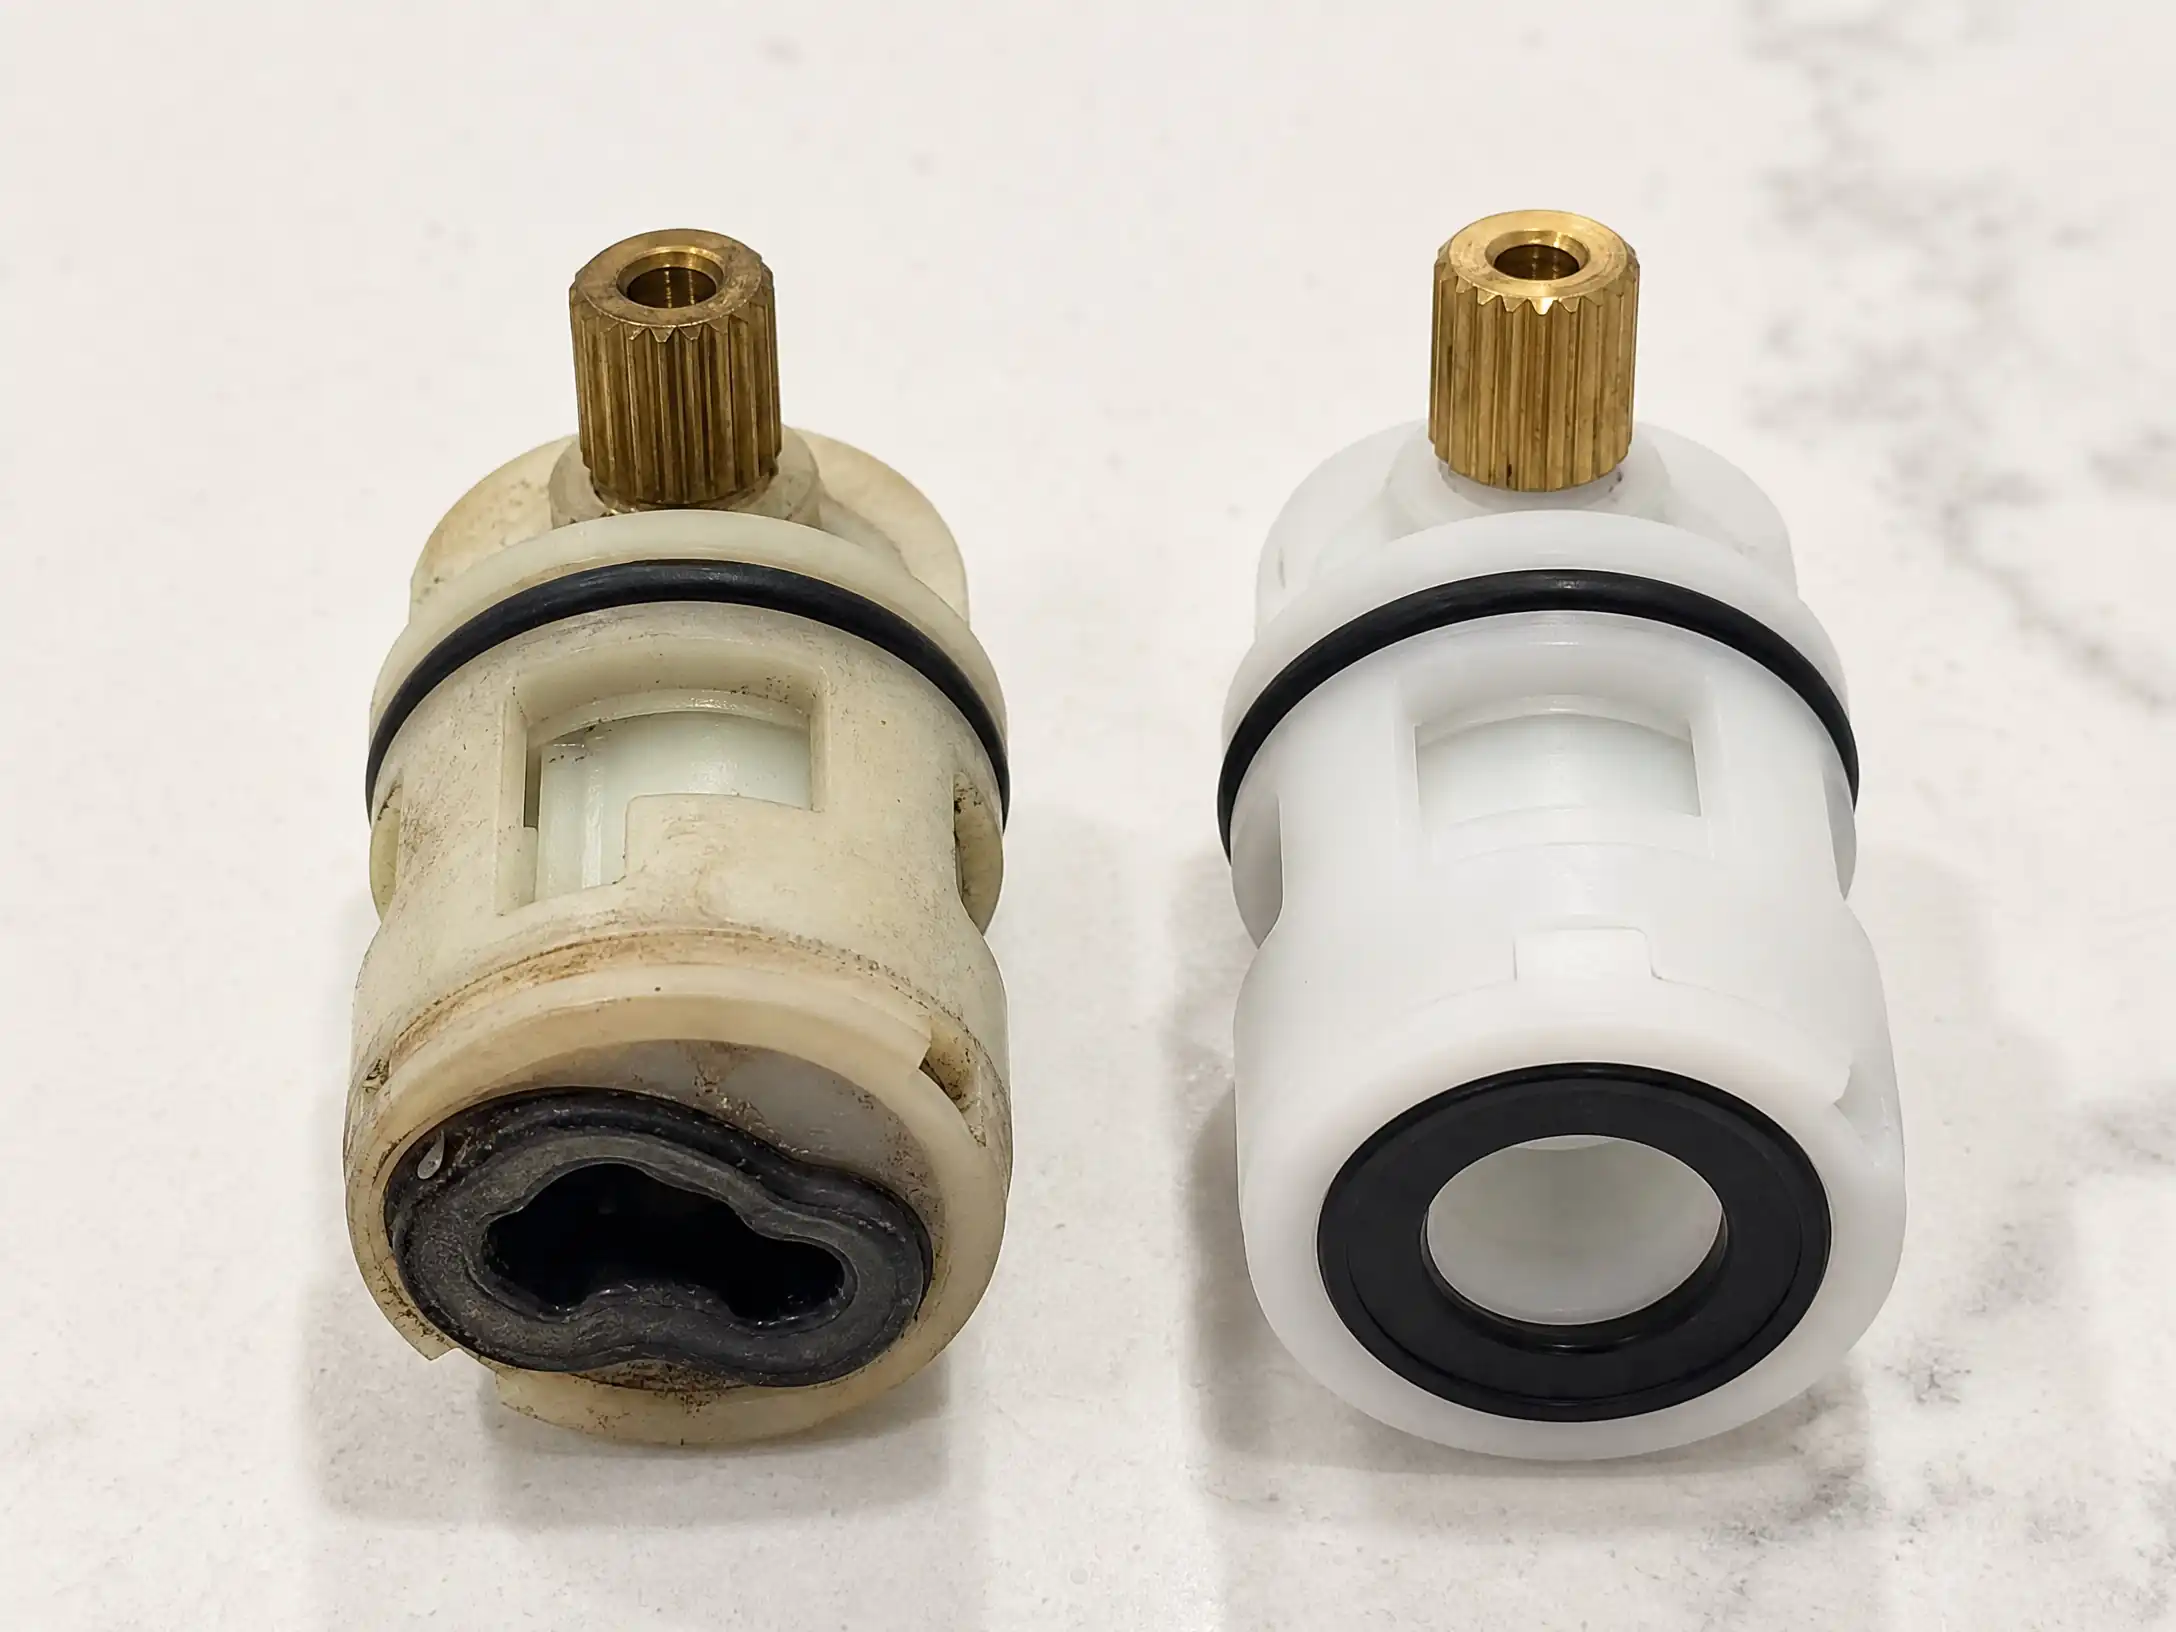
Universal Faucet Cartridge Replacement
AmazonCheck Price →
Affiliate Link
Replacing the Cartridge vs. the Whole Faucet
A replacement cartridge cost about 12 dollars at the hardware store. I just matched the brand and model number printed on the side of the old cartridge. The install literally took 20 minutes; I just pulled the old one out, pushed the new one in, tightened the retaining nut, and lastly reattached the handle. If I hadn’t checked the cartridge, then I would have spent at least sixty dollars on a replacement faucet needlessly. I would have spent an hour under the sink with a basin wrench fighting corroded nuts. All for a problem that was solved by a twelve-dollar piece of plastic. The rule is simple: if the drip is from the spout or around the handle, replace the cartridge. If the faucet body is cracked or leaking from the base where it meets the sink, replace the whole thing. In most cases, it is the cartridge.
The Shutoff Valve Surprise
I turned the hot water shutoff valve under the sink, and it spun freely without stopping. The stem was seized. I recognized the feeling immediately because the same thing happened when I replaced my toilet sometime ago. The valve had been eaten away by rust on the inside, and the stem had snapped free from the mechanism. I quickly shut off the main water line to the house, drained the pipes, and then replaced the shutoff valve.
The valve had corroded internally, and the stem had snapped free of the mechanism. I shut off the main water line to the house, drained the pipes, and replaced the shutoff valve. Eight dollars and thirty minutes. If I had tested the valve before I needed it when I first noticed the drip, I could have bought the valve on my own schedule instead of scrambling at nine on a Saturday morning with the whole house water off.
Penetrating Oil (WD-40 Specialist)
AmazonCheck Price →
Affiliate Link
What Both Fixes Cost, Combined
| Item | Cost |
|---|---|
| Closet auger | $15 |
| Faucet cartridge | $12 |
| Shutoff valve | $8 |
| Penetrating oil | $12 |
| Flange plunger (already owned) | $0 |
| Total | $47 |
I already owned the flange plunger and the screwdriver. The penetrating oil was leftover from a previous project. The actual out-of-pocket spending was $23 for the auger and cartridge, plus $8 for the shutoff valve I did not see coming but should have.
A plumber would have charged a service call fee just to show up - around $100 in our area - plus labor. Two separate service calls for two separate problems would have been $200 minimum before any parts. I spent $31 on parts and about three hours of a Saturday.
What I Would Do Differently
Two things. First, I would have tested the shutoff valves the week before, when I was planning the Saturday. Testing a valve takes ten seconds. Replacing a seized one takes half an hour and requires shutting off the whole house. I knew better from the toilet replacement, and I still did not do it. Second, I would have used the closet auger the first time the toilet clogged instead of the twelfth. I spent a year plunging a toilet that needed a fifteen-dollar tool. The plunger bought me temporary fixes. The auger bought me a permanent one. The delay was not about cost. It was about convincing myself the problem was simpler than it was.
The faucet I do not regret putting off as much. The drip was a nuisance, not an emergency. But if I had fixed it when I first noticed it, I would have saved months of annoyance and I would not have stepped in a cold wet spot at three in the morning.
Key Takeaways
- A plunger moves air, not force. If it is not making a seal around the toilet outlet, it is useless.
- A closet auger is fifteen dollars and clears clogs a plunger cannot touch.
- A faucet cartridge is almost always the cause of a drip, not the faucet body itself.
- Test your shutoff valves before you need them. A seized valve turns a twenty-minute job into a two-hour one.
Frequently Asked Questions
Why does my toilet keep clogging even after plunging?
How do you know if a faucet leak is the cartridge or the whole unit?
Is a leaky faucet a DIY fix or do you need a plumber?

Malik Areeb Ahmed is a contributor at Aesthetic Vibes, covering home improvement and DIY projects.