How to Fix Water Damaged Drywall: Cost + Steps
A toilet supply leak ruined part of my wall. How to repair water-damaged drywall - cutting out, drying, patching, and repainting cost me $100.
TL;DR
A weeping shutoff valve above our bathroom fed a slow leak down the inside of the wall for months before I noticed the stain. The damaged drywall was soft and had to be cut out, the cavity dried for days, then patched, taped, mudded, primed, and repainted. Materials cost about $100 because I already owned most of the tools, and the drying wait, not the work, was the longest part. If the damaged area is larger than a couple of square feet or you smell mold, call a pro instead.
The stain started as a faint brown shadow low on the wall behind the bathroom. I told myself it was a dirty smudge for two weeks. Then it grew a peeling bubble the size of my palm, and I finally pushed on it. My thumb went through the drywall like wet cardboard.
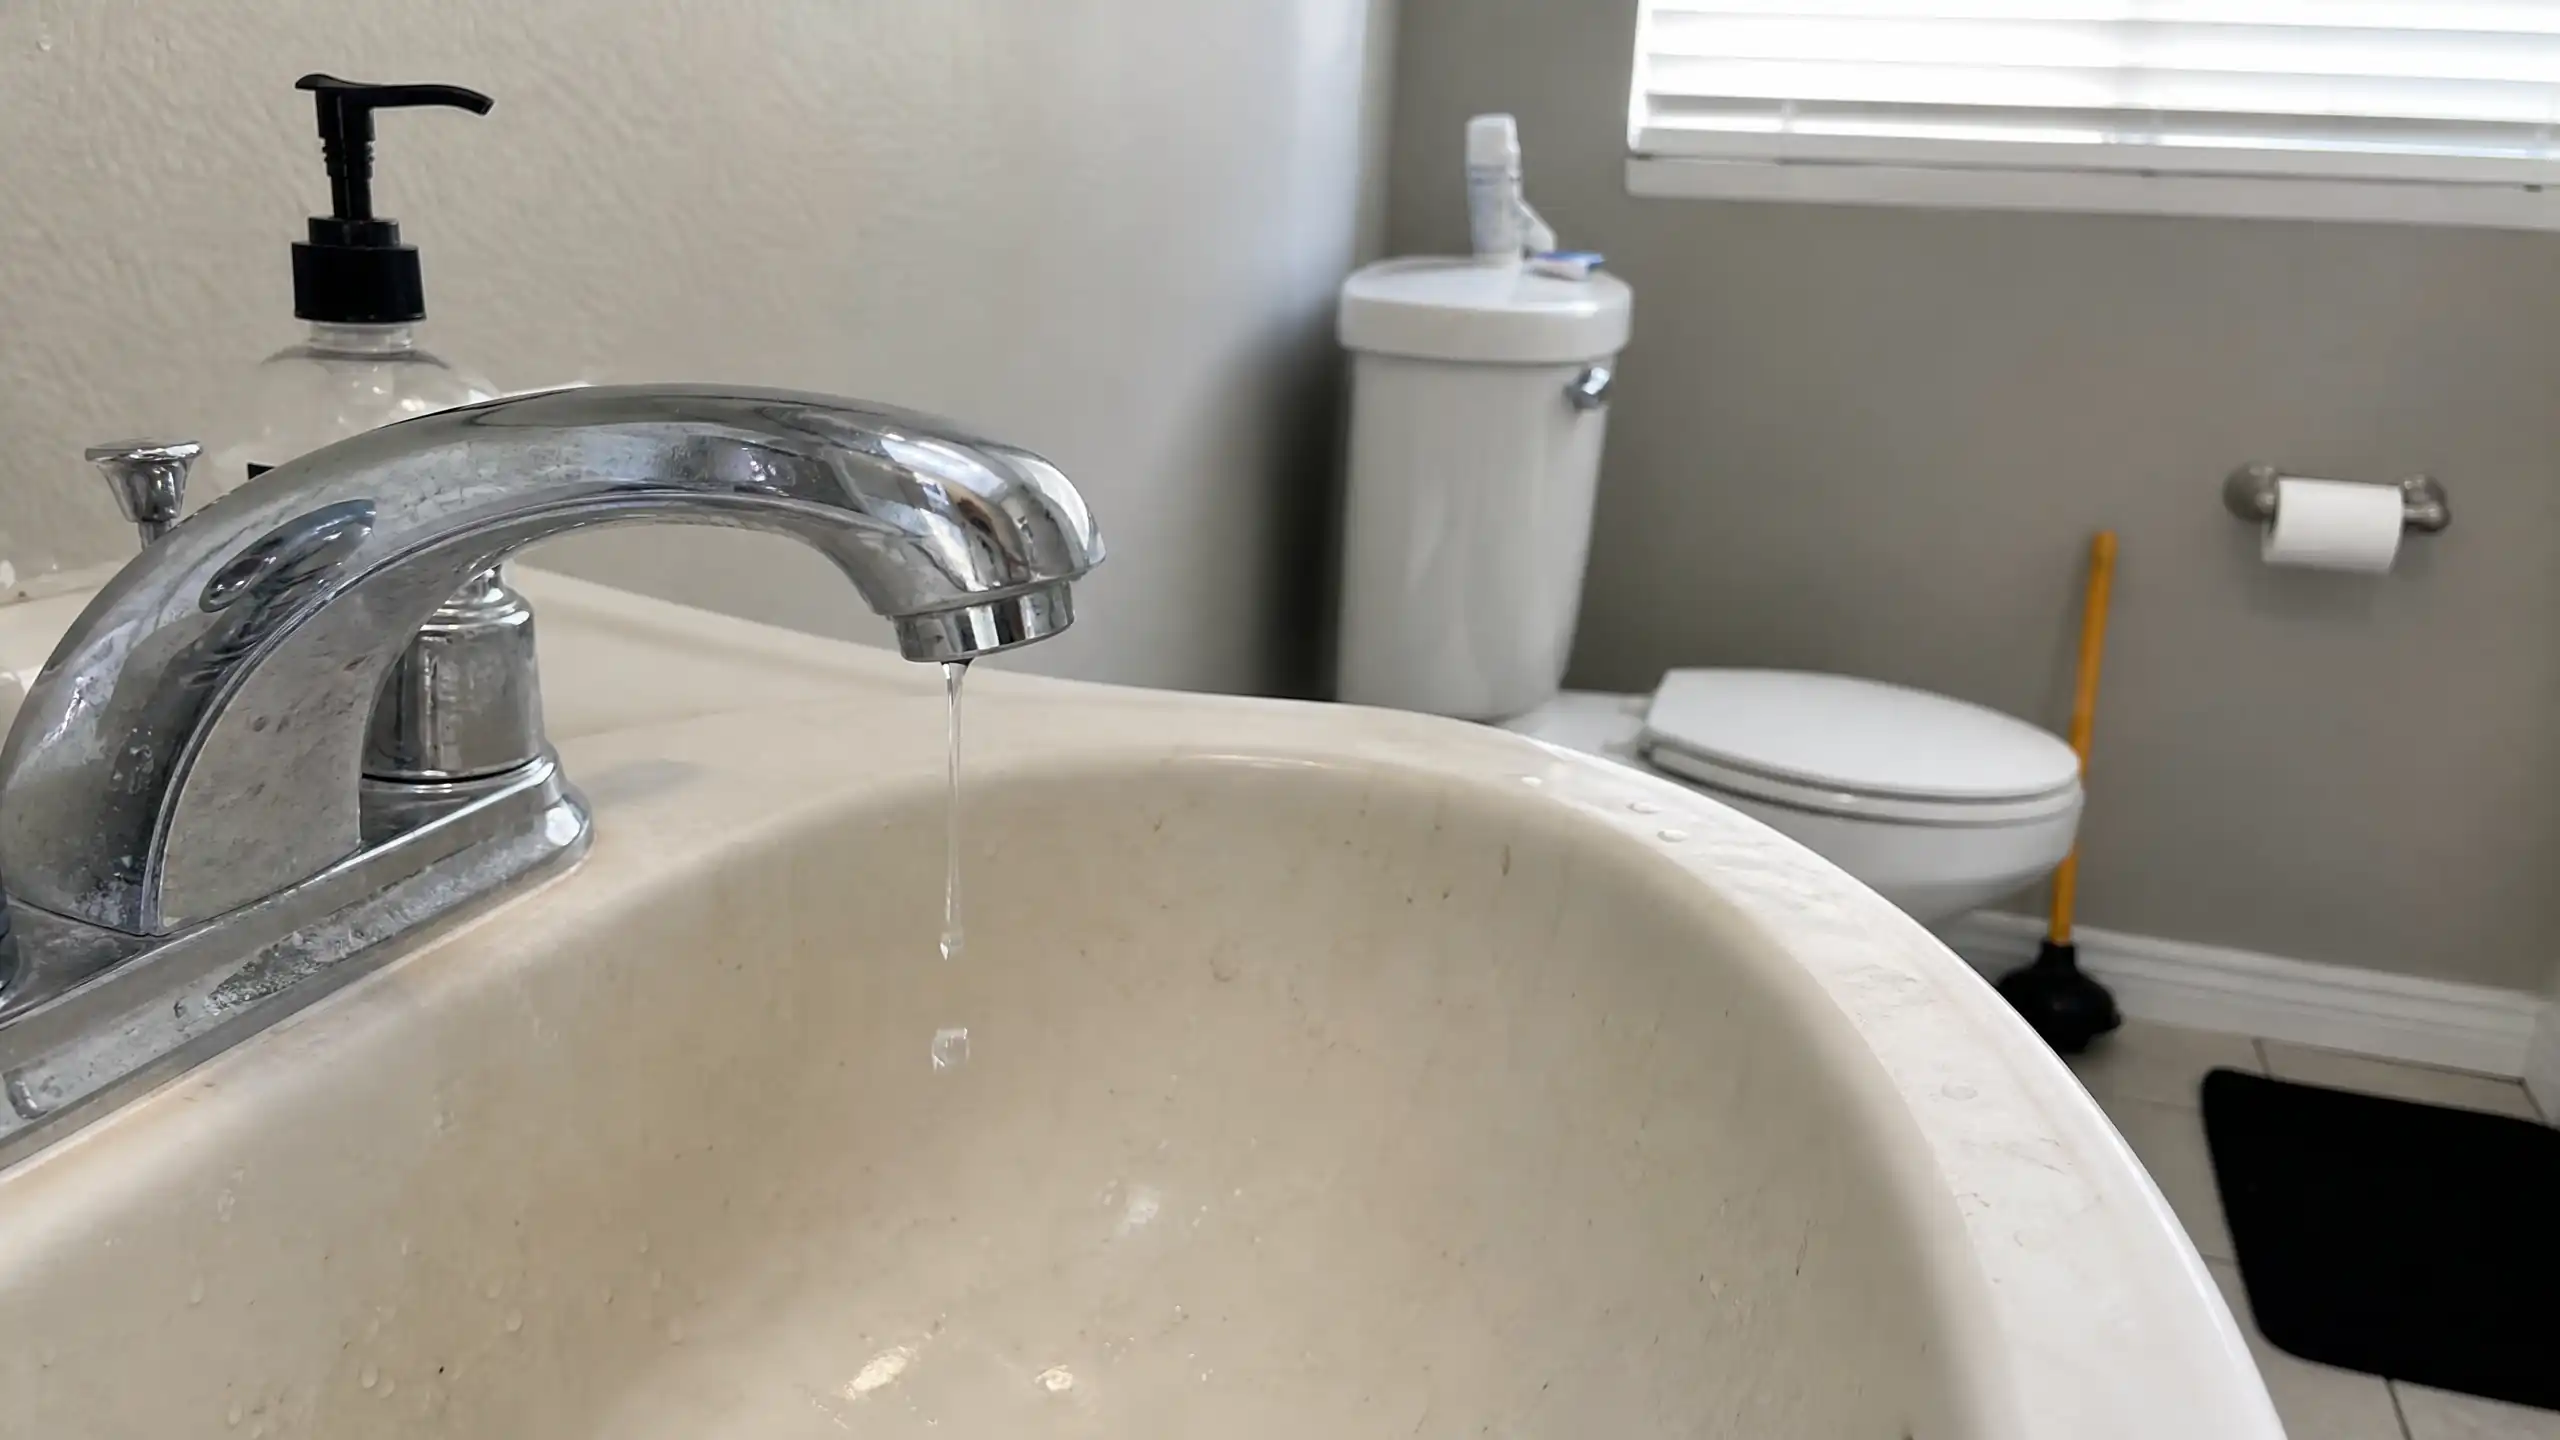
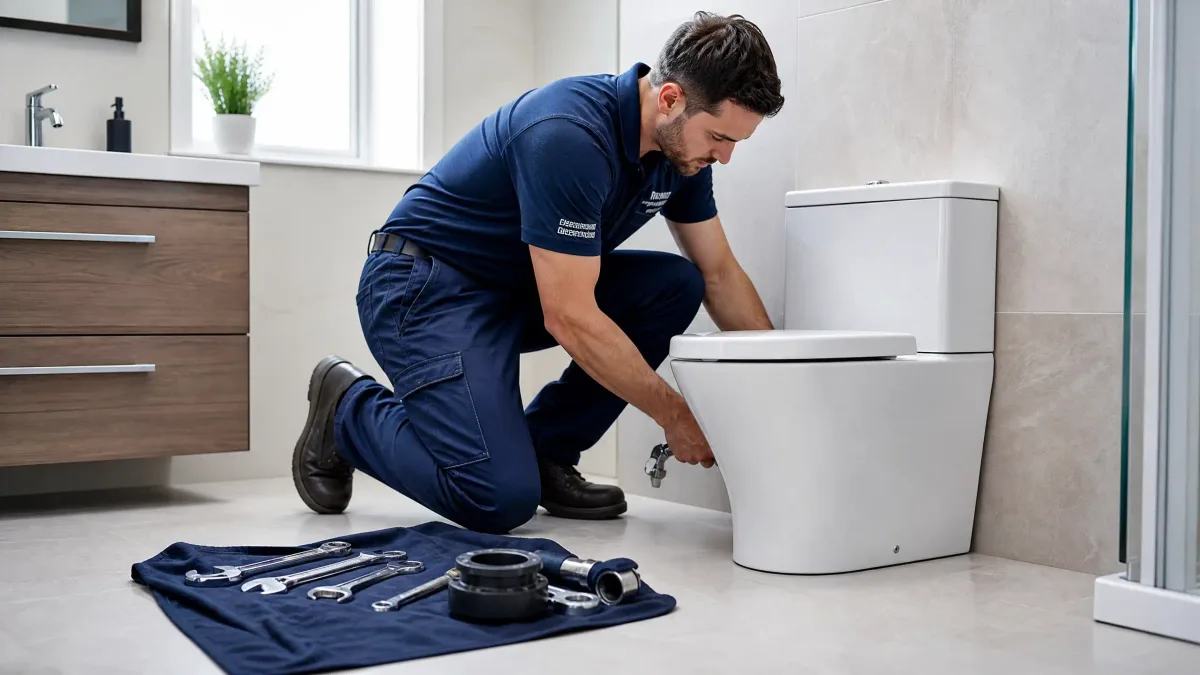
The leak had been running for months. When I replaced the toilet in that bathroom, the old shutoff valve was seized and the stem had been weeping water down the back of the wall every time the toilet filled. The wall below had been slowly drinking it the whole time, so the repair was on me.
The quick version: how to repair water-damaged drywall
- Test the damage. Firm drywall stays; anything soft enough to push through has to go.
- Fix the leak first, then dry the wall cavity to under 12% moisture.
- Cut out the damaged drywall in a rectangle, right to the middle of the studs.
- Patch the hole with a backing board, then screw it flush.
- Tape the seams, three coats of mud, and sand.
- Seal with a stain-blocking primer, then repaint the whole wall.
Repairing water-damaged drywall is straightforward once the source of the water is stopped, but the drying step is what decides whether the repair holds or turns into a mold problem later.
How to tell if water damaged drywall needs replacing
I did a few checks before I cut anything:
- The firmness test. I poked the discolored area with a screwdriver. Soft sections push through; firm sections hold. Mine failed in a dinner-plate-sized patch. If the wall is firm and the only issue is a small round bump, that is a nail pop, not water damage, and it needs a different fix.
- The size test. I mapped the soft area in pencil. It was about 14 inches wide and 10 inches tall, contained within the wall between two studs. That kept the repair simple.
- The smell test. I sniffed close to the wall and checked the baseboard for dark spots. No musty smell, no black streaks. That meant no visible mold, which decided whether I could do this myself.
If the damaged area is bigger than a couple of square feet, the leak is still active, or you smell or see mold, stop here and call a water damage pro. Mold behind the wall is a health and liability problem, not a DIY weekend. My case stayed small and dry enough to handle, and even then I wore a mask while cutting.
Fix the leak first, then dry the wall cavity
My leak source was already fixed, thanks to the toilet job. The new valve held. If yours is still leaking, nothing else matters until it stops, because the leak will just ruin whatever patch you put up.
Then came the drying, which I badly underestimated. I cut a few small holes in the stained section to let air in, aimed a box fan at the wall, and ran a dehumidifier in the room for the rest of the week. I checked with a $22 pinless moisture meter I ordered after reading a few reviews. It read high for three days, then finally dropped under 12%. That wait ended up being the real schedule. The meter told me when I could move on, not my weekend plans.
Do not patch until the framing and surrounding drywall read under 12% on a moisture meter. If the studs are still damp, any patch you put over them is a lid on a mold farm.
Cutting out the water damaged drywall
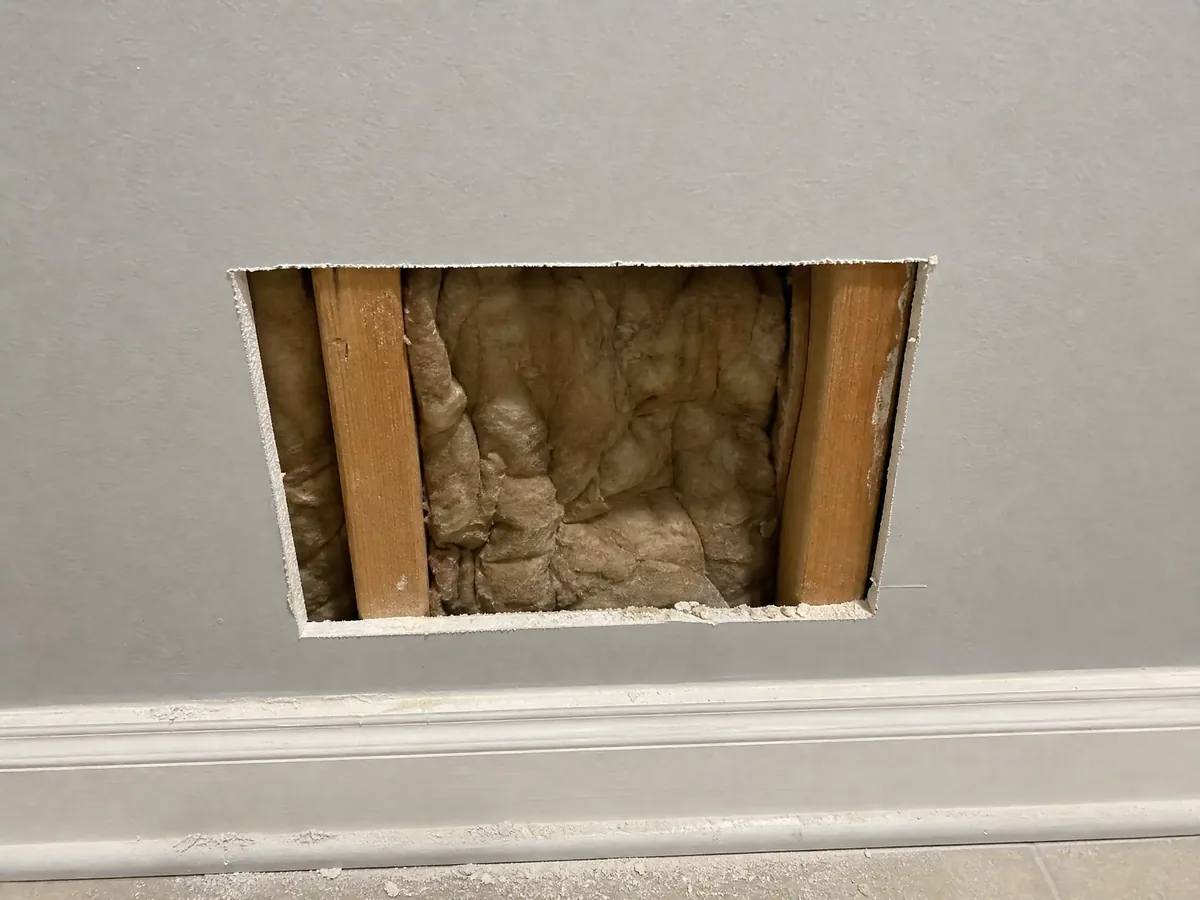
With the cavity dry, I drew a rectangle around the damage, widening it until the cut lines landed in the middle of the studs on each side. I cut with a utility knife against a straightedge, scoring several times. A drywall saw finished the corners.
Two rules made this easy:
- Cut to the stud centers. That gives you wood to screw the patch into, both sides.
- Cut rectangles, not ovals. A straight seam is just easier to tape.
Patching the drywall hole
The opening was bigger than my thumb but well under the size where a whole new sheet makes sense. I used the classic backing-board method.
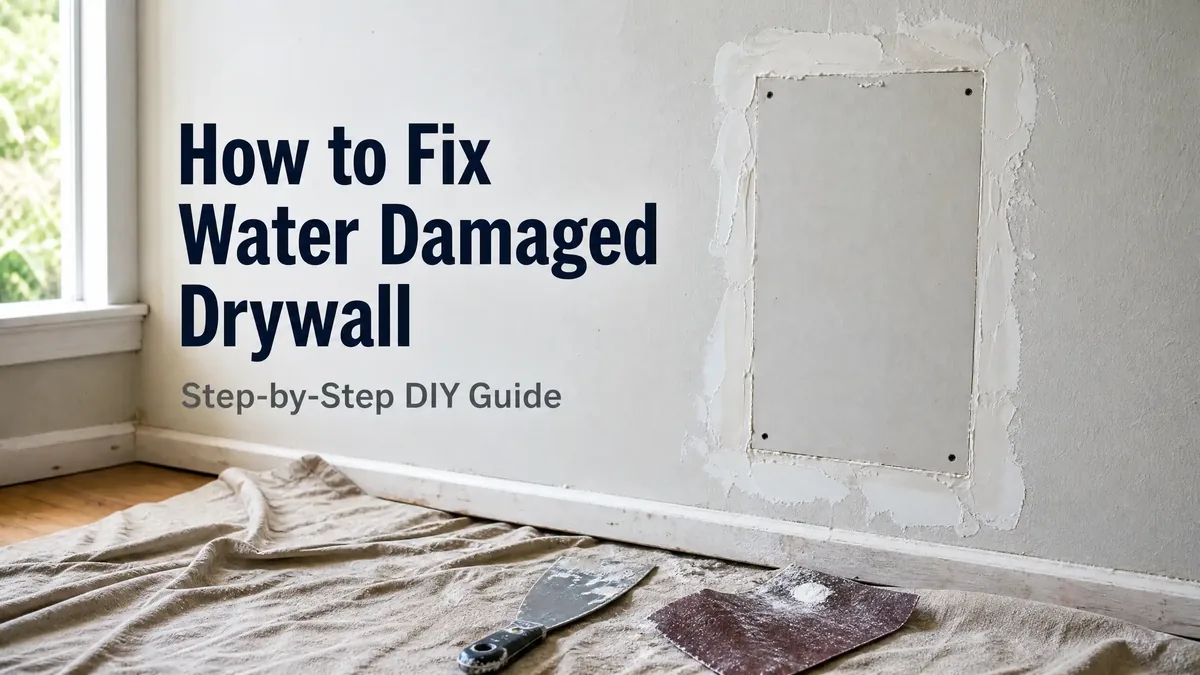
I cut a drywall patch slightly smaller than the opening, screwed a scrap of wood through the back of the opening to give it a hidden ledge, then dropped the patch in, screwed it to the ledge and to the studs at the edges, and checked it sat flush with the wall.
For a smaller hole, the California patch (tape around the back of a scrap, then press it in) works fine and needs no wood. Mine was too big for that, so the ledge method it was.
Taping, mudding, and sanding the patch
This is the part that makes the patch invisible, and it is about patience, not skill.
First coat was paper tape pressed into a thin layer of joint compound, then a skim coat over the tape, left to dry overnight. The second coat went wider with a 6-inch knife, feathering the edges, and dried overnight again. The third coat took a 10-inch knife and went wider still, feathering everything down to a smooth, nearly invisible rise, then sat overnight before I sanded with 220-grit.
My first patch attempt taught me the feathering lesson the hard way. I left a proud edge on the second coat, sanded it flat, and burned through the paper into a brown scar that needed another skim coat anyway. Feathering each coat wider than the last is what keeps the sanding easy.
Priming and painting over water stains
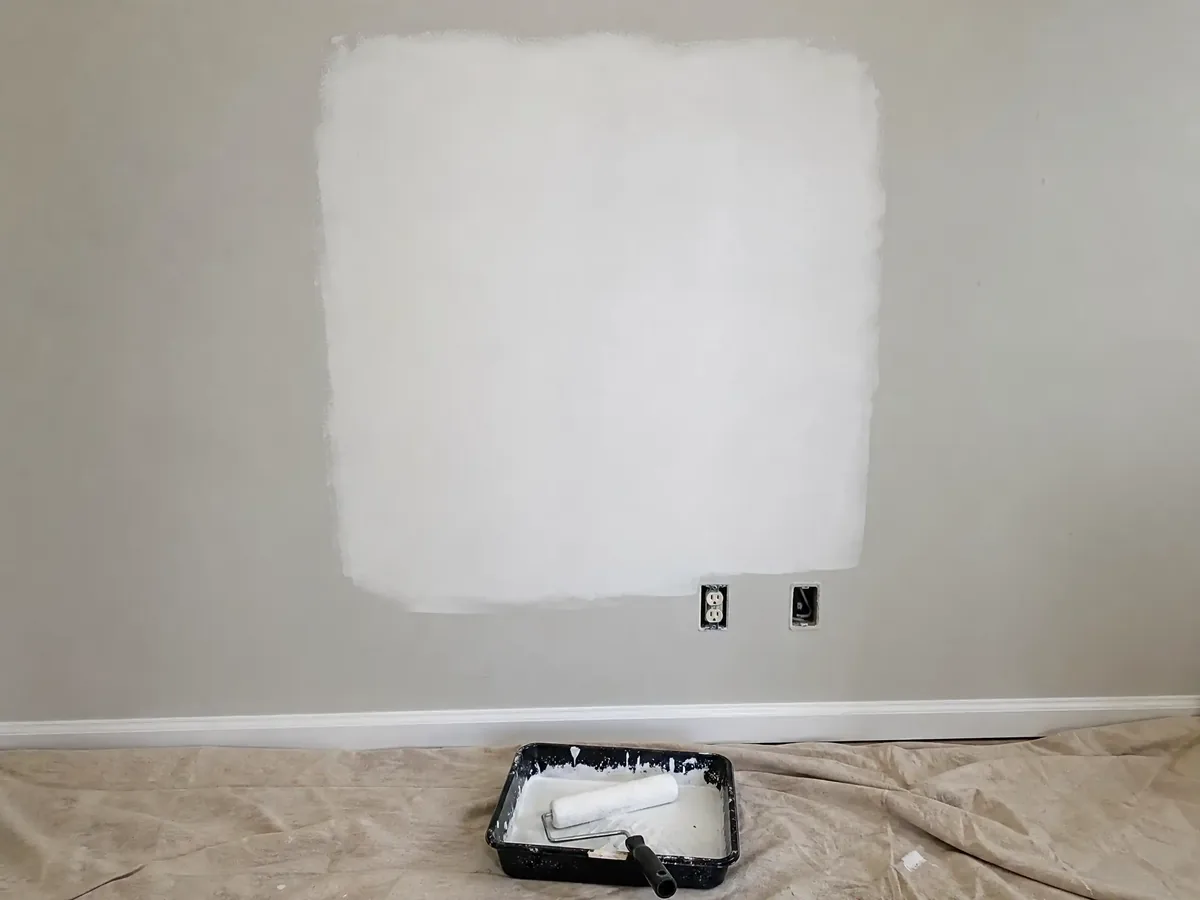
Water stains bleed through ordinary paint like they are made of ink. I sealed the whole patched area with Zinsser BIN shellac primer, the same stuff I used on my kitchen cabinet paint job, and nothing bled through. It smells strong, dries in 45 minutes, and blocks stains nothing else touches.
Then I repainted the full wall, not just the patch. Matching paint sheen across a 10-inch seam is harder than painting the whole wall, which took me under an hour with the wet edge technique I use for any big wall.
What it actually cost
| Item | What I paid |
|---|---|
| Drywall sheet (half sheet, 1/2-inch) | $17 |
| Joint compound (small bucket) | $14 |
| Paper tape | $6 |
| Zinsser BIN shellac primer (quart) | $26 |
| Wall paint (matched, quart) | $15 |
| Moisture meter | $22 |
| Box fan and dehumidifier (already owned) | $0 |
| Total | $100 |
The result
Two weekends total: one to cut, dry, and patch, one to mud, sand, prime, and paint. The wall is flat, the stain is gone, and the moisture meter sits at a boring 8% a month later. The leak that started it is fixed, which is the only reason the repair will last.
Fixed a water stain in your own wall and learned something my method left out, especially if you handled mold or a bigger patch? I would like to hear what worked. Send me a note through the contact form.
Zinsser BIN Shellac-Based Primer (1 Quart)
AmazonCheck Price →
Affiliate Link
Pinless Moisture Meter for Drywall
AmazonCheck Price →
Affiliate Link
Drywall Patch Kit with Self-Adhesive Mesh
AmazonCheck Price →
Affiliate Link
Key Takeaways
- Probe the damaged area with a screwdriver. If it punches through, the drywall has to go.
- Do not close the wall back up until the cavity is fully dry, or the mold problem gets worse than the water problem.
- Cut a rectangle to the middle of the studs. Straight edges are much easier to tape.
- The whole repair cost me about $100 in materials and two weekends, most of it waiting for things to dry.
Frequently Asked Questions
How do I know if water damaged drywall needs to be replaced?
How long does it take for water damaged drywall to dry?
Can I just paint over water damaged drywall?
What does it cost to fix water damaged drywall?

Malik Areeb Ahmed is a contributor at Aesthetic Vibes, covering home improvement and DIY projects.