Squeaky Stairs With No Access From Below — What Worked
Fix a squeaky stair from above when the underside is finished drywall and there's no crawl space — without pulling up carpet.
TL;DR
The third step squeaked and the underside was finished drywall — no crawl space, no way to reach the joists from below. Graphite powder and WD-40 both failed within days. What held: two 2-1/2-inch trim-head screws driven through the carpeted tread into the riser at a forty-five-degree angle, countersunk below the carpet surface. The key was finding the exact friction point first using talcum powder between tread and riser.
The third step from the top squeaked. Not a subtle creak — a loud, honest squeak that announced every trip up and down, day or night, with or without shoes. We had lived with it for two years before I finally sat down with the problem and refused to move until I found a solution.
The constraint was the real problem. Our staircase has finished drywall on the underside. There was no crawl space, no basement stairwell below, no way to reach the underside of the tread without opening the drywall. Every guide I found assumed you could get underneath, pop the nail loose, and drive a new one at an angle. That was not an option here. The fix had to come entirely from above.
If your stairs have the same excuse — finished drywall underneath, no way in without demolition — this is for you. Everyone else can probably just pull up the carpet and do it the easy way.
Step One: Find Where the Squeak Actually Comes From
A squeaking stair is a friction problem. Two pieces of wood are rubbing against each other where they meet, usually at the joint between the tread (the horizontal surface you step on) and the riser (the vertical face behind it). The squeak happens because one of those surfaces moves slightly under load and the friction between them makes noise.
But which point along that joint is rubbing? The squeak sounds the same no matter where you step on the tread, because the entire tread flexes when weight is applied. The actual friction point might be anywhere along the joint.
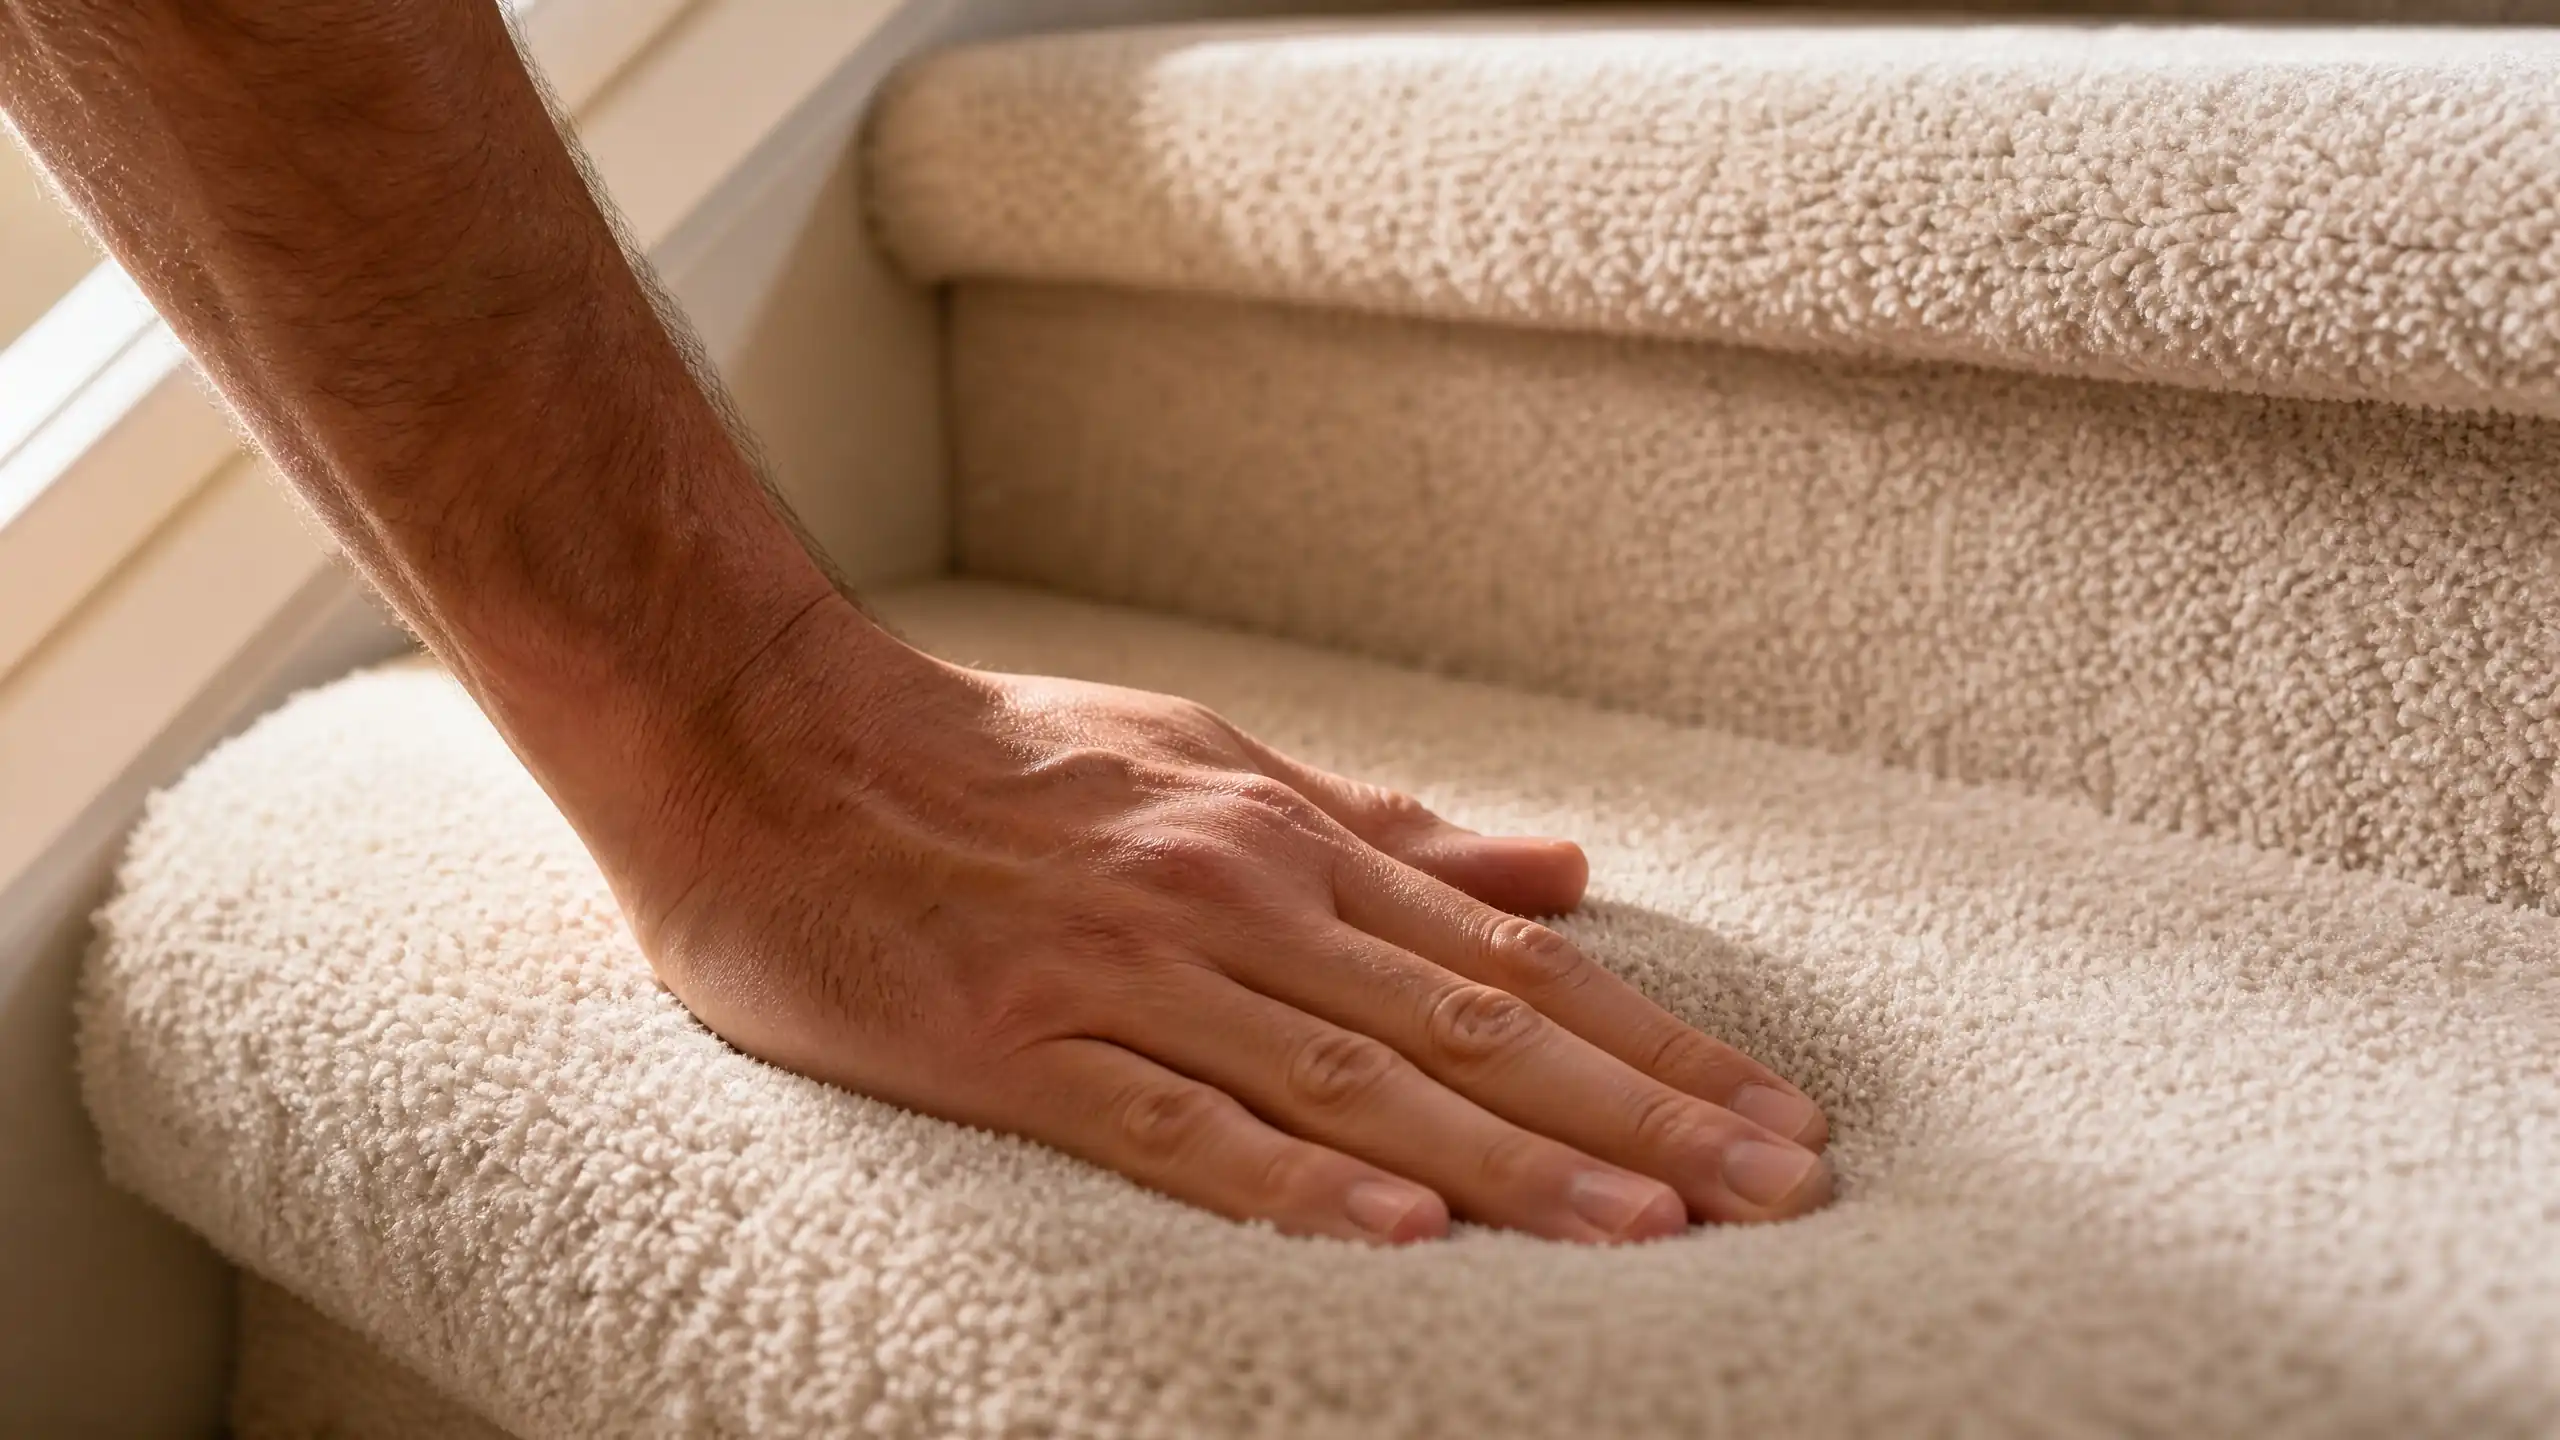
I bought a bag of unscented talcum powder at the drugstore for two dollars. I pried the carpet back gently at the edge of the squeaky step and sprinkled a thin line of powder along the top of the riser, right at the seam where it meets the tread. Then I stood on the step. The powder shifted. I could see the disturbance — a small scrape mark where the tread had rubbed the riser on the right side, about three inches from the stringer.
That told me where to drive the screw. Without the talcum powder, I would have been guessing.
Use unscented talcum powder. The scented kind adds perfume to a space that already smells like old carpet and dust. You are looking for a powder that moves when the wood moves, not one that smells nice while doing it.
Why WD-40 and Graphite Did Not Work
Before I found the talcum powder trick, I tried the two most common “quick fixes” for squeaky stairs. Both are worth mentioning only because they did not work, and I wasted a Saturday on them.
The WD-40 fix: spray lubricant along the joint where the squeak happens. I did this. The squeak stopped for about two hours. Then the lubricant dried out or migrated away from the friction point, and the squeak returned. Worse, the WD-40 attracted dust and carpet fibers, which built up in the joint and made the friction worse than before. I had to clean the residue with a damp rag before trying anything else. In my opinion WD-40 is the duct tape of home repair — it fixes almost anything for about an afternoon, then you’re back where you started.
The graphite powder fix: powdered graphite is a dry lubricant that does not evaporate. I bought a small squeeze bottle from the hardware store and worked it into the joint along the squeaky step. The squeak stopped for about a day. Then the graphite migrated away from the exact point of contact, and the noise came back. Graphite also stains carpet a dark gray, which I did not realize until I saw the smudge on the step below.
Neither fix addressed the root cause: the tread and riser were not held together tightly enough to prevent movement. Lubrication only reduces friction between moving parts; it does not stop the parts from moving.
The Fix: Screws Through Carpet From Above
The fix involved three steps: driving trim-head screws through the carpet into the tread and riser, countersinking them deep enough to be invisible underfoot, and filling the holes with wood filler.
Step One: Mark the Screw Points
I stood on the step and pressed down where the talcum powder had shown the friction point — as I mentioned above, that scrape mark about three inches from the stringer. A screw at that exact spot would lock the tread to the riser and prevent the movement that caused the squeak. I marked two spots about two inches apart along the friction line, both roughly in the center of the step depth.
Step Two: Drive the Screws
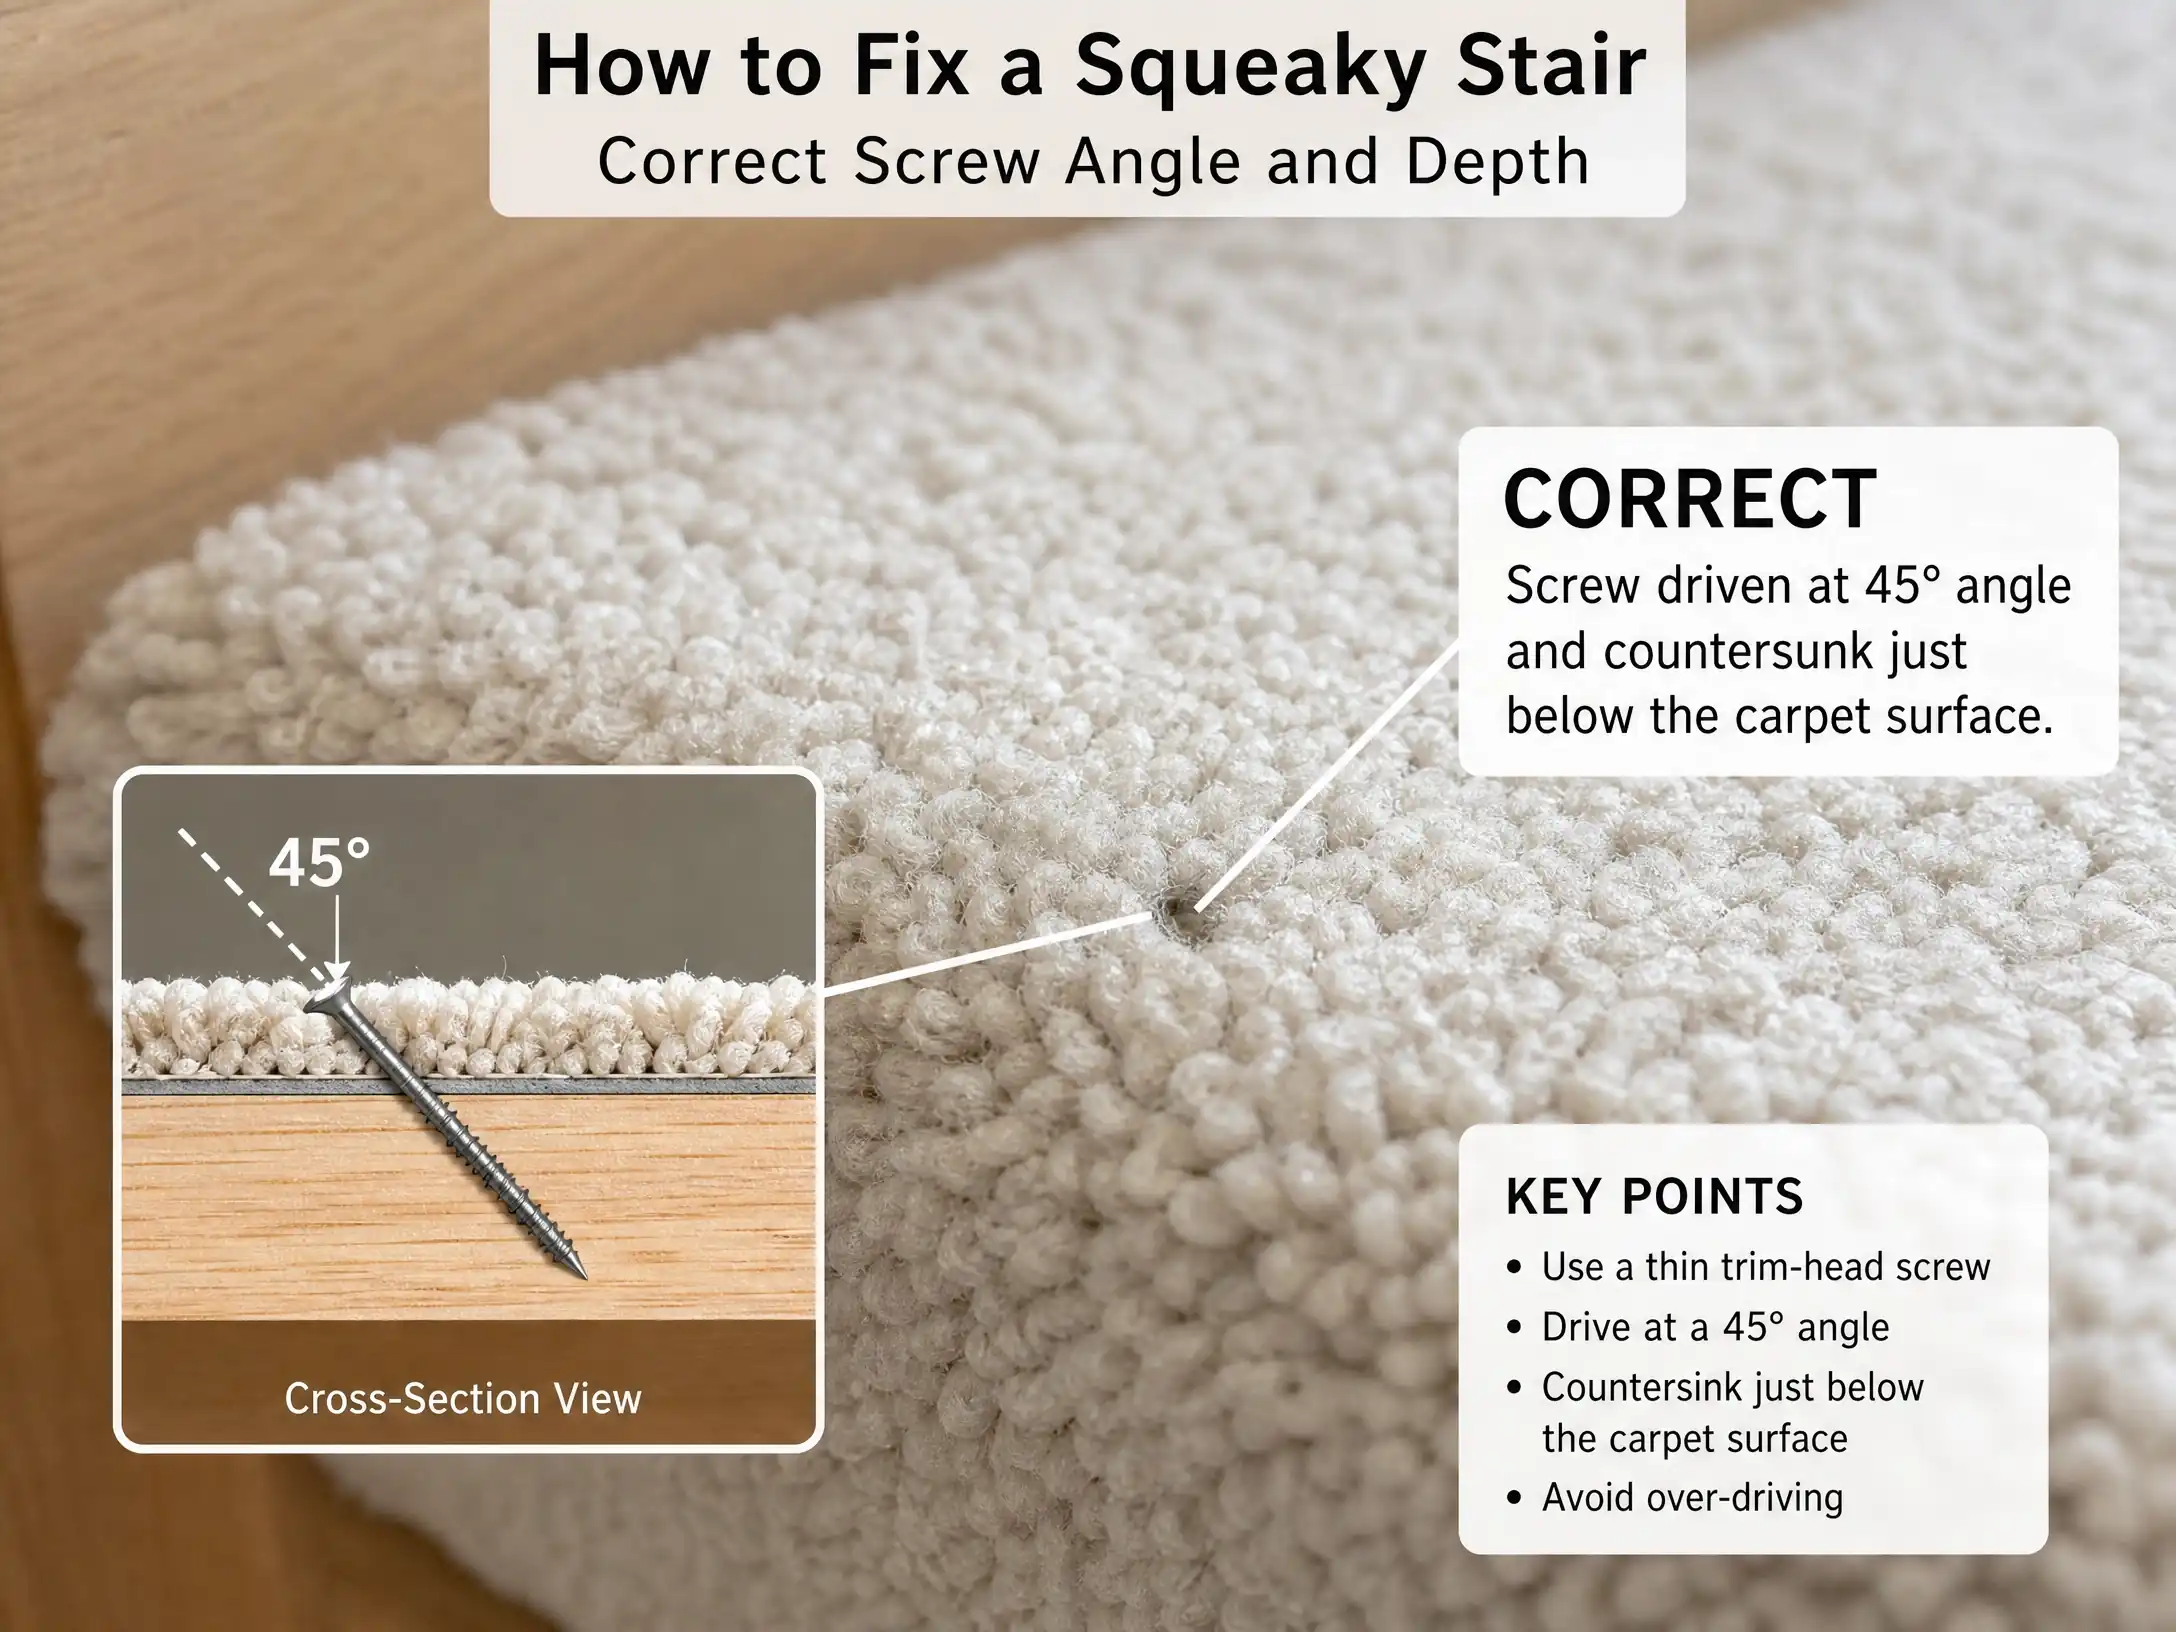
I used 2-1/2-inch trim-head screws — the thin kind with a small head designed for finish carpentry. I drove the first one at a forty-five-degree angle through the carpet and into the wood at my marked point. The screw went through the carpet backing, through the tread, and bit into the riser. The tread and riser squeezed together and the squeak stopped immediately, like a joint that had been loose finally being locked tight.
I drove the second screw about two inches from the first. The second screw was unnecessary for the squeak fix itself, but it gave the joint more holding power and I figured one extra screw was cheaper than another Saturday of talcum powder.
Step Three: Countersink and Fill
The screw heads were the hard part. I used a screwdriver to drive each head about 1/8 inch below the surface of the carpet. At that depth, the carpet backing compresses around the screw and you cannot feel it underfoot. I tested by running my hand across the carpet — no bump, no click.
After the screws were countersunk, I used a small brush to push wood filler into the carpet holes, color-matched to the carpet fiber with a brown touch-up pen. The filler filled the gap left by the screw head and made the screw location almost invisible.
How It Held Up
Three months of daily use — two adults, a kid, and a dog — and the squeak has not returned. The screws are holding the tread to the riser at the exact point of friction, and without movement, there is no noise. The carpet is undamaged. The wood filler is holding.
I repeated the talcum powder test on the same step last week to see if the squeak had started migrating to a different point along the joint. It had not. The screws had locked the joint tight.
What I Would Do Differently
I would buy a squeak-repair screw kit instead of using trim-head screws. The kits are designed for exactly this job — they include a special bit that breaks off the screw head after it is driven, leaving only the shaft embedded in the wood. The carpet completely covers the break point. I used trim-head screws because they were in the garage, and the countersinking worked fine, but a purpose-built kit would have saved the wood-filler step entirely.
I would also start with the talcum powder instead of ending with it. I spent two Saturdays on WD-40 and graphite before finding the friction point. The powder costs two dollars and gives you the answer in five minutes.
What I like about a purpose-built kit over what I actually used: the break-off head means no wood filler step, full stop. What I don’t like: it’s another thing to order and wait for, versus trim-head screws you probably already have in a drawer somewhere. If you’re doing this today, use what’s in the garage. If you’re planning ahead, get the kit.
The Other Places This Fix Works
The same screw-through-carpet technique works on squeaky floor joists in bedrooms and hallways, not just stairs. The principle is identical: find the friction point, drive a screw to lock the joint, countersink below the carpet surface.
It does not work if the squeak comes from loose floor joists in the structural framing — that requires access from below, or sistering new joists alongside the existing ones. But most household floor squeaks are surface-level friction, not structural failure. The stair fix described here was the same approach I used on a squeaky spot in our upstairs hallway, and it held there too.
Tools I Used
- Unscented talcum powder ($2)
- 2-1/2-inch trim-head screws (already in garage, could also use a dedicated squeak-repair kit)
- Screwdriver with magnetized tip
- Wood filler and a brown touch-up pen ($4)
- Total cost: about six dollars, all from the hardware store
The talcum powder was the most useful tool in the whole process. Without it, I would have been driving screws blindly and hoping the friction point happened to be under the screw head.
If your stairs have a squeak and no way in from below, try the powder before you buy anything. Worst case you’re out two dollars. Until next time, watch your step.
Key Takeaways
- A squeaky stair usually means the tread is rubbing the riser, not that a nail came loose.
- Talcum powder between tread and riser identifies the friction point without disassembly.
- Counter-sunk trim-head screws at a forty-five-degree angle lock the tread to the riser from above.
- Do not spray WD-40 or graphite into carpet. It works for one day, then attracts dust and the squeak returns.
Frequently Asked Questions
How do I fix a squeaky stair without pulling up the carpet?
Can I fix squeaky stairs from above if there is no crawl space underneath?
Will screws through the carpet leave bumps I can feel?
What holds the squeak fix long-term?

Malik Areeb Ahmed is a contributor at Aesthetic Vibes, covering home improvement and DIY projects.