How to Fix Nail Pops in Drywall (2-Screw Method)
Nail pops are a fastener problem, not a paint problem. The two-screw method fixes them permanently in about 20 minutes, with only a box of screws to buy.
TL;DR
Nail pops are round bumps in drywall where a nail head pushes through the paint. They look like a paint problem but they are a fastener problem: the nail is no longer gripping the wood, so no amount of spackle alone will keep them from coming back. The permanent fix is the two-screw method: drive a drywall screw an inch above and below the pop to pull the panel back to the stud, handle the old nail, fill, sand, paint. Expect about 20 minutes per pop, and the only real cost is a box of screws.
Nail pops are the round bumps that push up through painted drywall where a fastener has lost its grip. They look like a paint flaw, but they are a fastener problem, and treating them like a paint flaw is exactly why they come back.
The short version: a nail pop needs the drywall pulled back tight to the stud behind it, the old nail dealt with, and the spots filled, sanded, primed, and painted. The two-screw method below is the permanent fix. Budget about 20 minutes per pop, and the only real cost is a box of screws.
What a nail pop actually is
Drywall used to be hung with nails. The nail head sits just below the surface of the paper, buried under a skim of compound. When the wood framing shrinks, moves, or settles, the nail loses its grip and the panel shifts. The nail head then pushes through the paper and paint, leaving that telltale bump with a little crater around it.
You can tell a nail pop from a paint bubble because a pop is hard and feels like a button under the paint, and there is usually a small ring of cracked paint around it.
Why mud alone fails
The mistake almost everyone makes is scraping the loose paint, filling the crater with spackle, sanding, and painting. It looks perfect, and it holds for a few months. Then the same bump comes back, because the loose fastener is still under the surface. The fill was just a cap on a moving nail, and every time the wood shifts a little, the cap moves with it.
If you only fill the visible crater, the pop will come back, usually within the year. The fastener underneath has to be re-anchored first, or you are just decorating the problem.
The two-screw method, step by step
This is the fix that actually works, and the one worth doing every time:
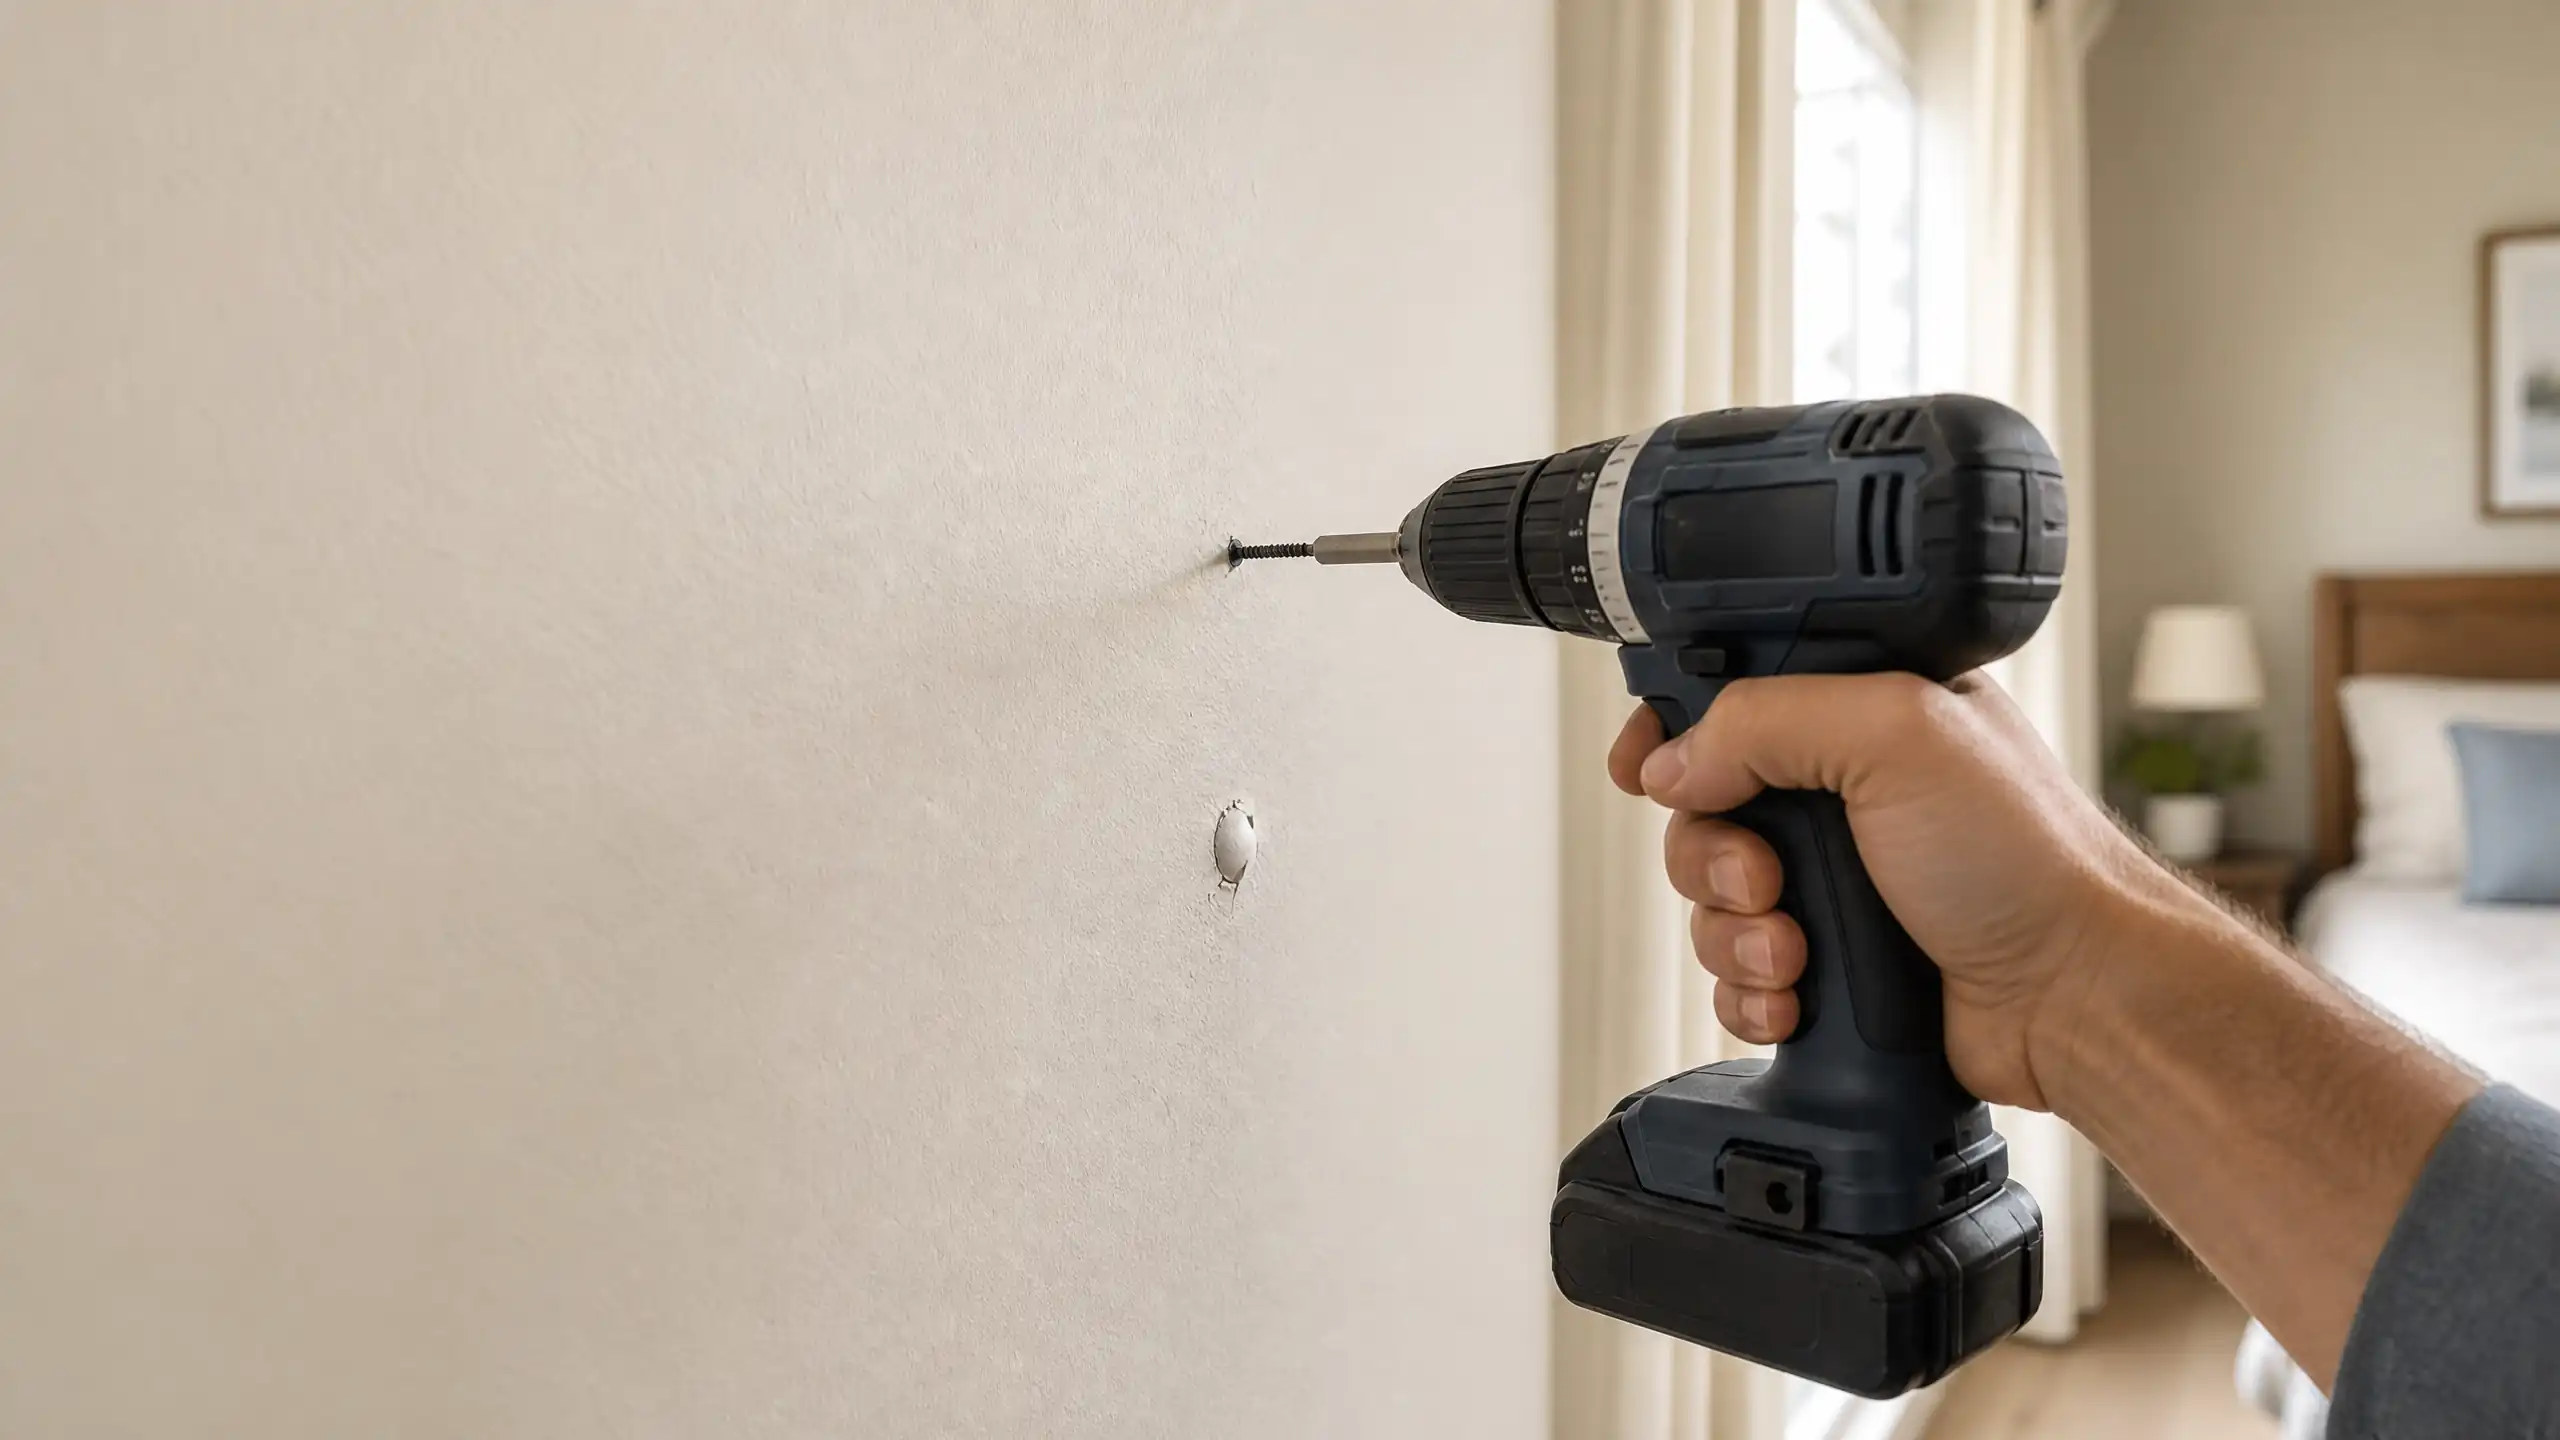
- Drive a drywall screw above the pop. Screw it in about an inch above the bump, just deep enough that the head dimples the paper slightly, like a shallow crater. Do not tear the paper.
- Drive a second screw below the pop. Same deal, an inch below. The two screws pull the panel back tight against the stud and hold it there, which is the whole point.
- Deal with the old nail. If the old nail is loose, pull it out gently with pliers. If it is stuck, just drive it in slightly below the surface with a hammer and leave it. The new screws are doing the work now, so the old nail just needs to stop poking out.
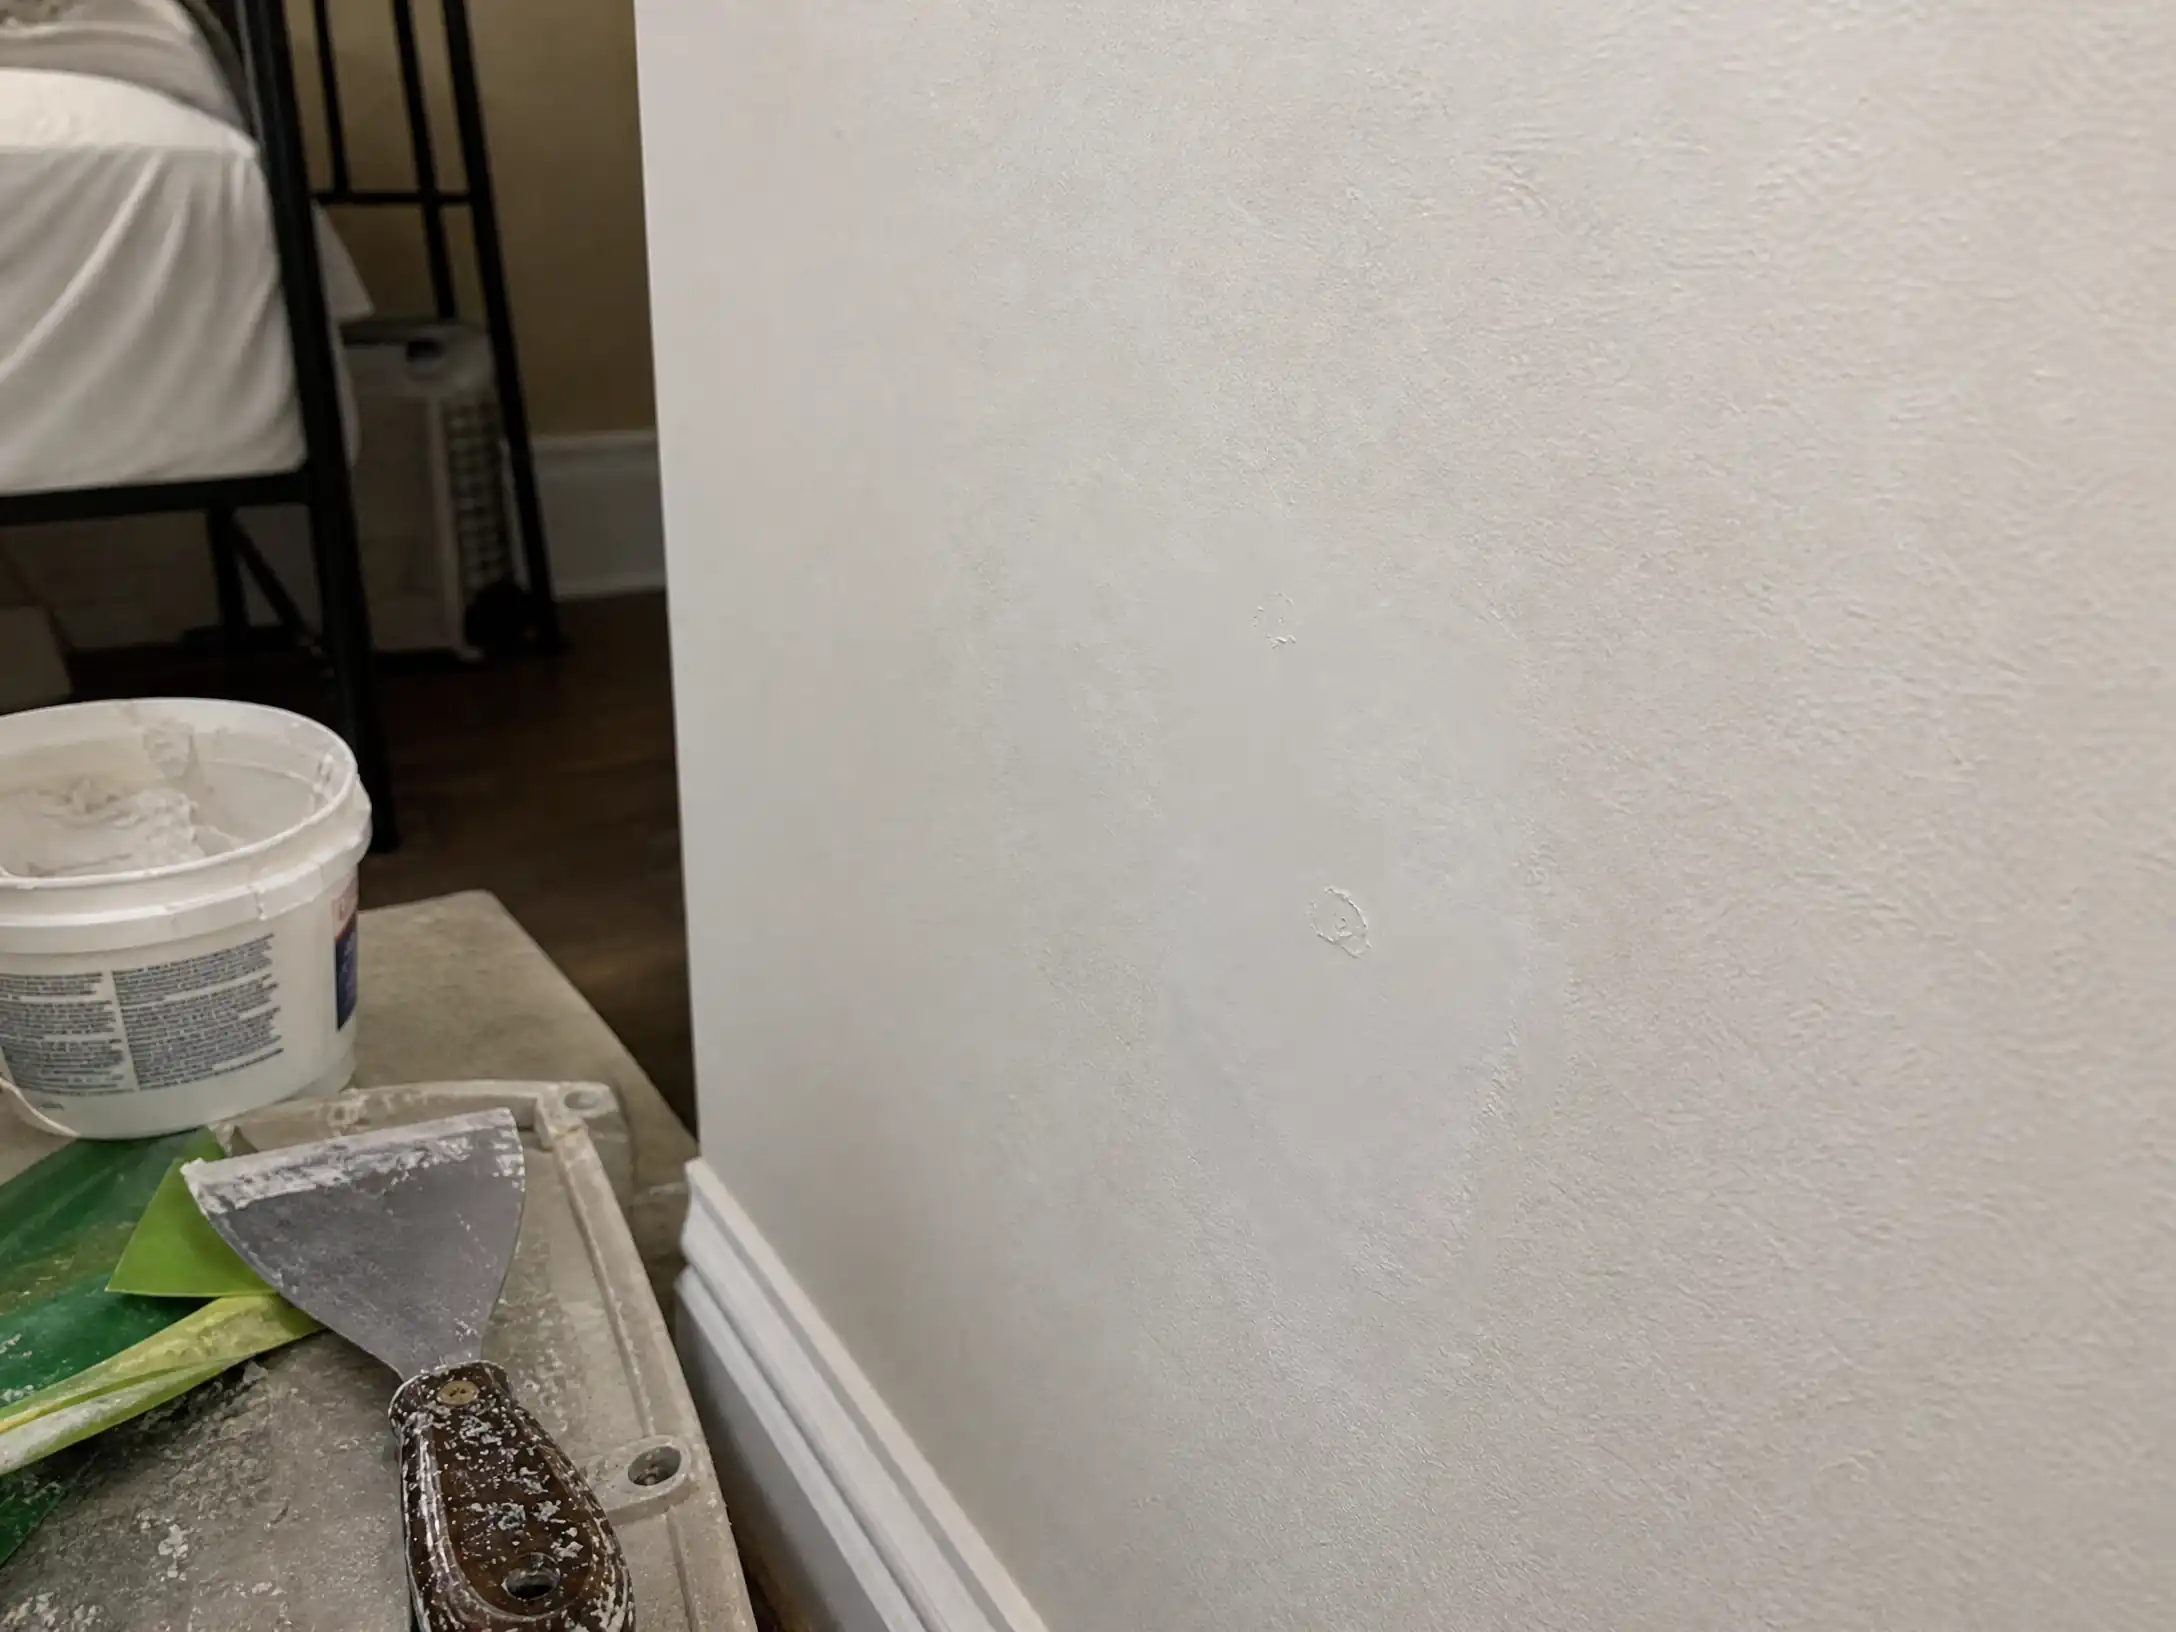
- Fill everything in one pass. One coat of joint compound over both dimples and the old nail spot. Do not try to build it up; thin coat, let it dry, second thin coat if needed.
- Sand and paint. Sand with 220-grit once dry, spot-prime, then paint. If you are already painting the whole room, follow the wet edge technique so the wall finishes even.
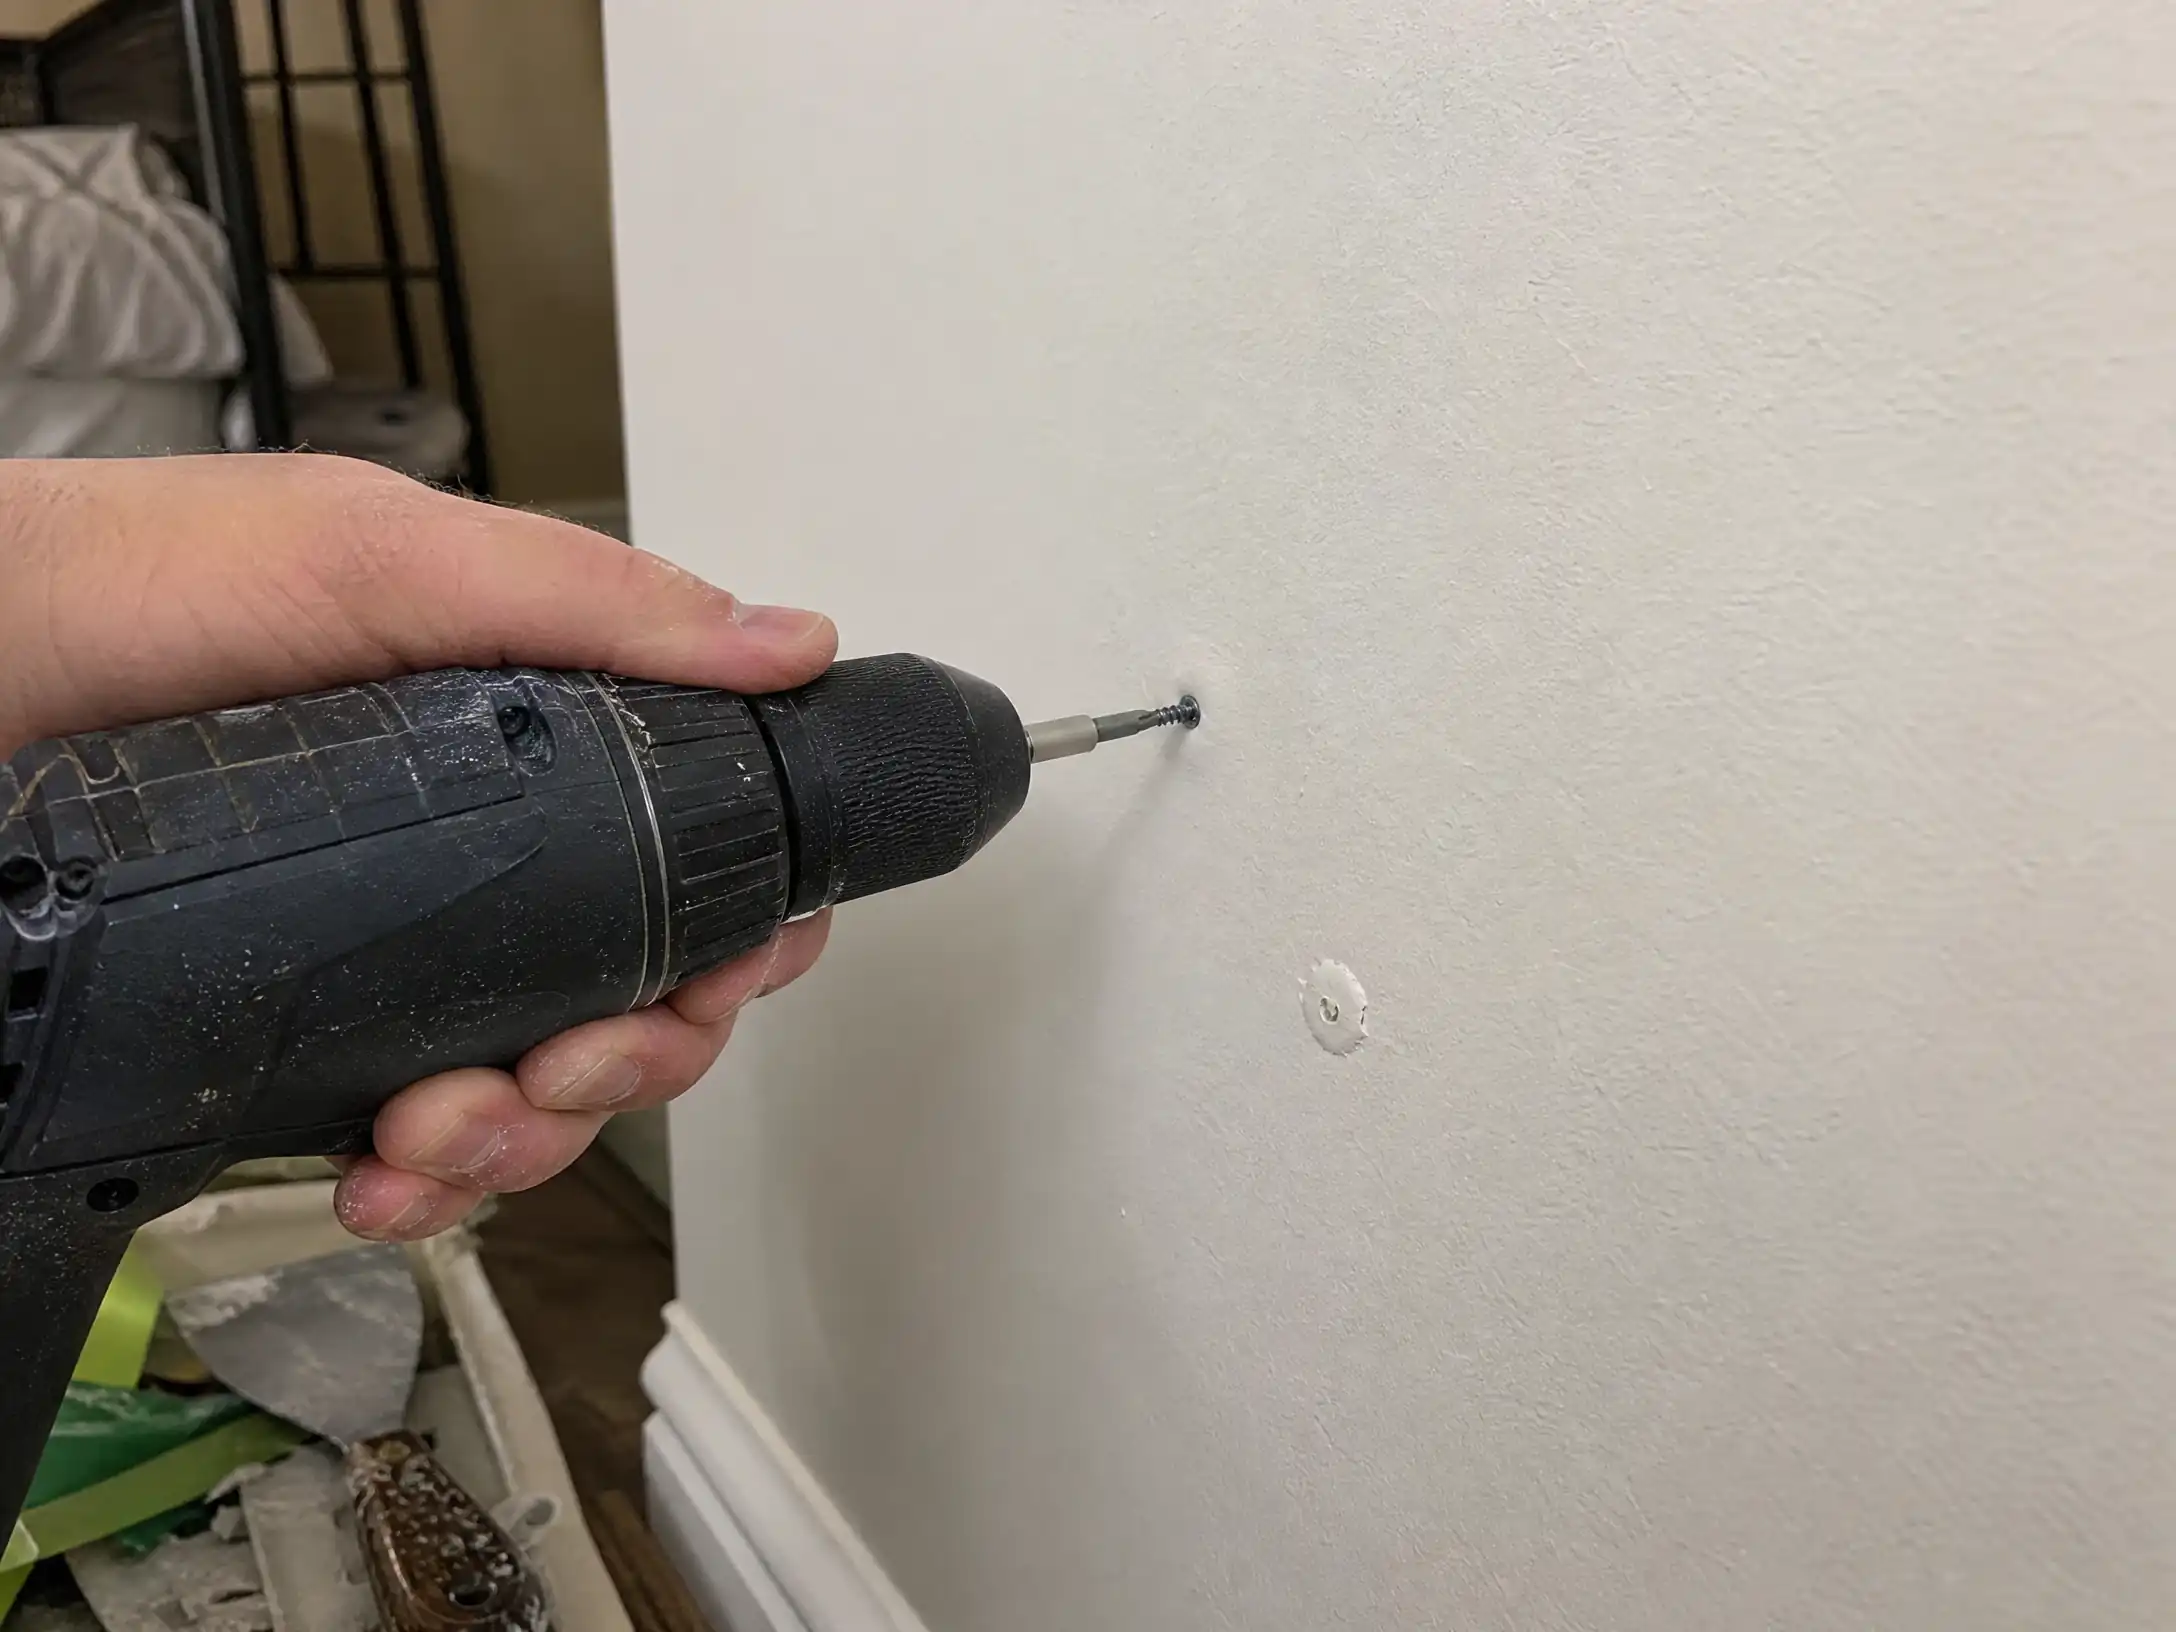
Use 1-1/4-inch drywall screws for half-inch panels, the most common thickness. If you are not sure how thick your drywall is, check an outlet box edge or measure at the hole you are fixing; the screw needs to reach the wood behind the panel but not blow through it.
What about pops on the ceiling?
Ceiling pops get the same two-screw treatment, with two extra notes. Ceiling drywall can be heavier, so screw both fasteners in before doing anything else, and use a drywall screw that reaches the joist, which is usually 1-5/8 inches. Second, look up. If you see a row of pops following a line, that is usually a seam sagging between joists, and that is a bigger repair than a single pop.
When to worry
A stray pop here and there is normal wear. A cluster of new pops along one wall, or a pop that comes back after the two-screw fix, is worth investigating. Moisture is one cause worth ruling out before you pick up a screwdriver: leaks can soften the wall and set up the same movement. If your pops show up after a leak, check the wall for soft spots first, because a moisture issue in the wall needs a different repair.
What it costs
A box of 1-1/4-inch drywall screws runs about $8, and one box covers far more pops than most homes will ever throw up. The rest of the cost is joint compound and a few dollars of paint for touch-up. If you have already done a water damaged drywall repair, you likely have both sitting in the garage. Four pops take about an hour total, most of it waiting for the compound to dry.
That is the real answer to the question nobody asks until the second time they paint over a pop: the permanent fix is cheap, and the temporary one costs a whole repaint later.
Drywall Screws 1-1/4 Inch (Coarse Thread, 1 lb)
AmazonCheck Price →
Affiliate Link
Drywall Screw Setter Tool
AmazonCheck Price →
Affiliate Link
Sanding Sponge for Drywall (Fine Grit)
AmazonCheck Price →
Affiliate Link
Key Takeaways
- A nail pop is a fastener problem, not a paint problem. Mud alone will not fix it.
- The two-screw method: drive a drywall screw about an inch above and below the pop to re-anchor the panel.
- Remove or set the popped nail, then fill both dimples and the old hole in one pass.
- Nail pops come back after repainting because the movement underneath was never stopped.
Frequently Asked Questions
Why do nail pops appear in drywall?
Can I just fill a nail pop with spackle?
Are nail pops a structural problem?
Do I need to prime over a fixed nail pop before painting?

Malik Areeb Ahmed is a contributor at Aesthetic Vibes, covering home improvement and DIY projects.